TaskHub-SaaS Installation - Codeigniter
Thank you for purchasing the app. If you have any questions that are beyond the scope of this help file, please feel free to message me via my user page contact form here. Thank you so much!
There are two ways to install TaskHub on server. First via Installation Wizard and Second is manually using any editor. Best way is using Wizard. Let's get started.
1. How to setup TaskHub-SaaS on your server automatically - (Via Wizard Installer)
- First of all find the code - vX.X ( vX.X - stands for version ) folder from the downloaded package and take out all the data from code - vX.X folder and upload to your server.
- Then go to your domain for example
https://www.YOURDOMAIN.com/install/make sure you haveinstall/after your domain URL. Now you will able see page like below - Fill all the details carefully. All field is required. Note : If you are on Localhost then ' Database Password ' is not required.
- ' Super admin Email ' and ' Super admin Password ' will be your login credentials. This credentials will need on everytime you login. Make sure you write down somewhere this credentials.
- Now click on install and wait untill process finished. It will automatically redirect you on your login page.
{OR}
How to setup TaskHub-SaaS on your server manually - (Via Coding)
- First of all find the Code folder from the downloaded package and take out all the data from Code folder and upload to your server.
- Create a new database from cPanel
- Create new user for the database & give all the privileges to the user
- Import the database file (given in the zip file) 'taskhub-SaaS.sql' to your PHPMYADMIN
- Open File Manager or FTP or File Explorer
- Go To
'application/config/'directory and Open'database.php'file in PHP Code - Set database credentials with your credentials on line number - 78,79,80,81
'hostname' => 'your_hostname',
'username' => 'your_username',
'password' => 'your_password',
'database' => 'your_database',
Thats it! Now you are ready to run your TaskHub-SaaS App
Go To: https://YOURDOMAIN.com/
NOTE: If you are using subdirectory in instead of domain for hosting a TaskHub-SaaS application then make sure you move firebase-messaging-sw.js file to the root of your domain. One more thing when you need to change FCM settings then you have to do it manually by yourself.
Default Login DetailsUser: super@gmail.com
Pass: super@0124
NOTE: Above process will create super admin account.
Wait... Wait... setup is not done yet. To enjoy full functionality of app make sure you go to settings section and add all the app details first.
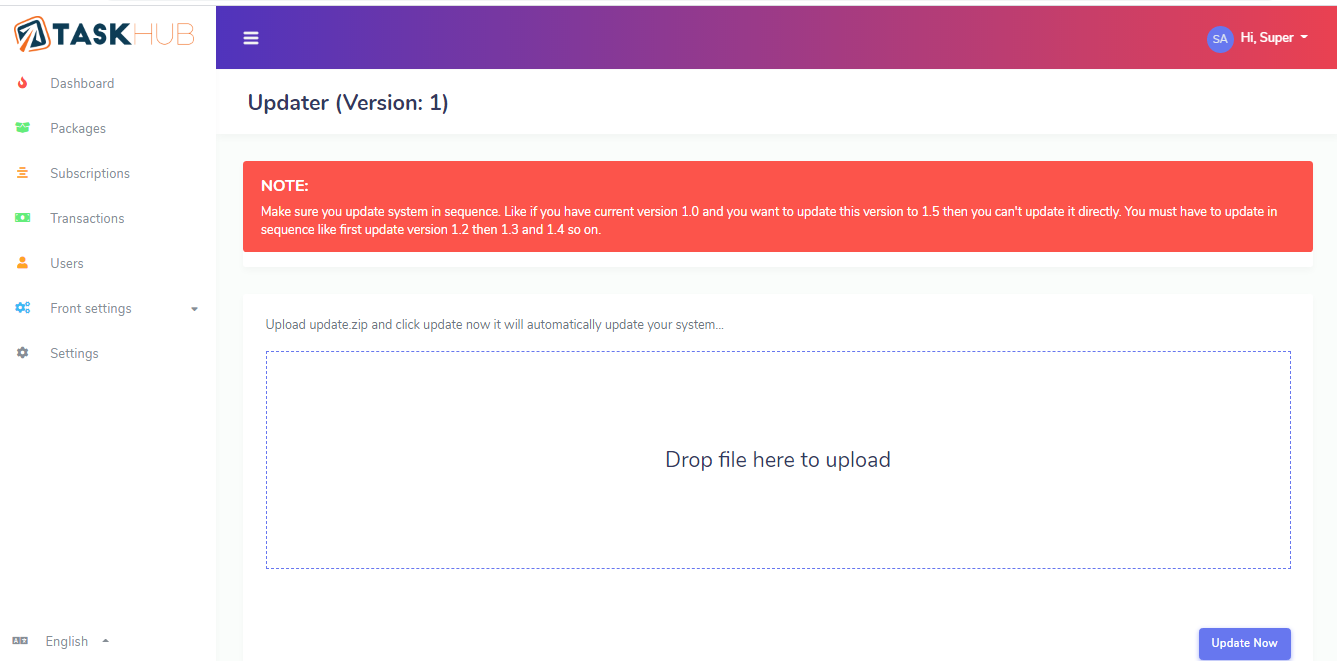
Auto updater
How to use auto updater to update system from current version to next version.
NOTE : Make sure you update system in sequence. Like if you have current version 1.0 and you want to update this version to 1.5 then you can't update it directly. You must have to update in sequence like first update version 1.2 then 1.3 and 1.4 so on.
- Only two simple step will update your system.
- Find and download update.zip folder from the downloaded package when ever new update arrives.
- Upload update.zip folder at place shown in below image and click Update Now. that's all your system is now updated.
Firebase Setup
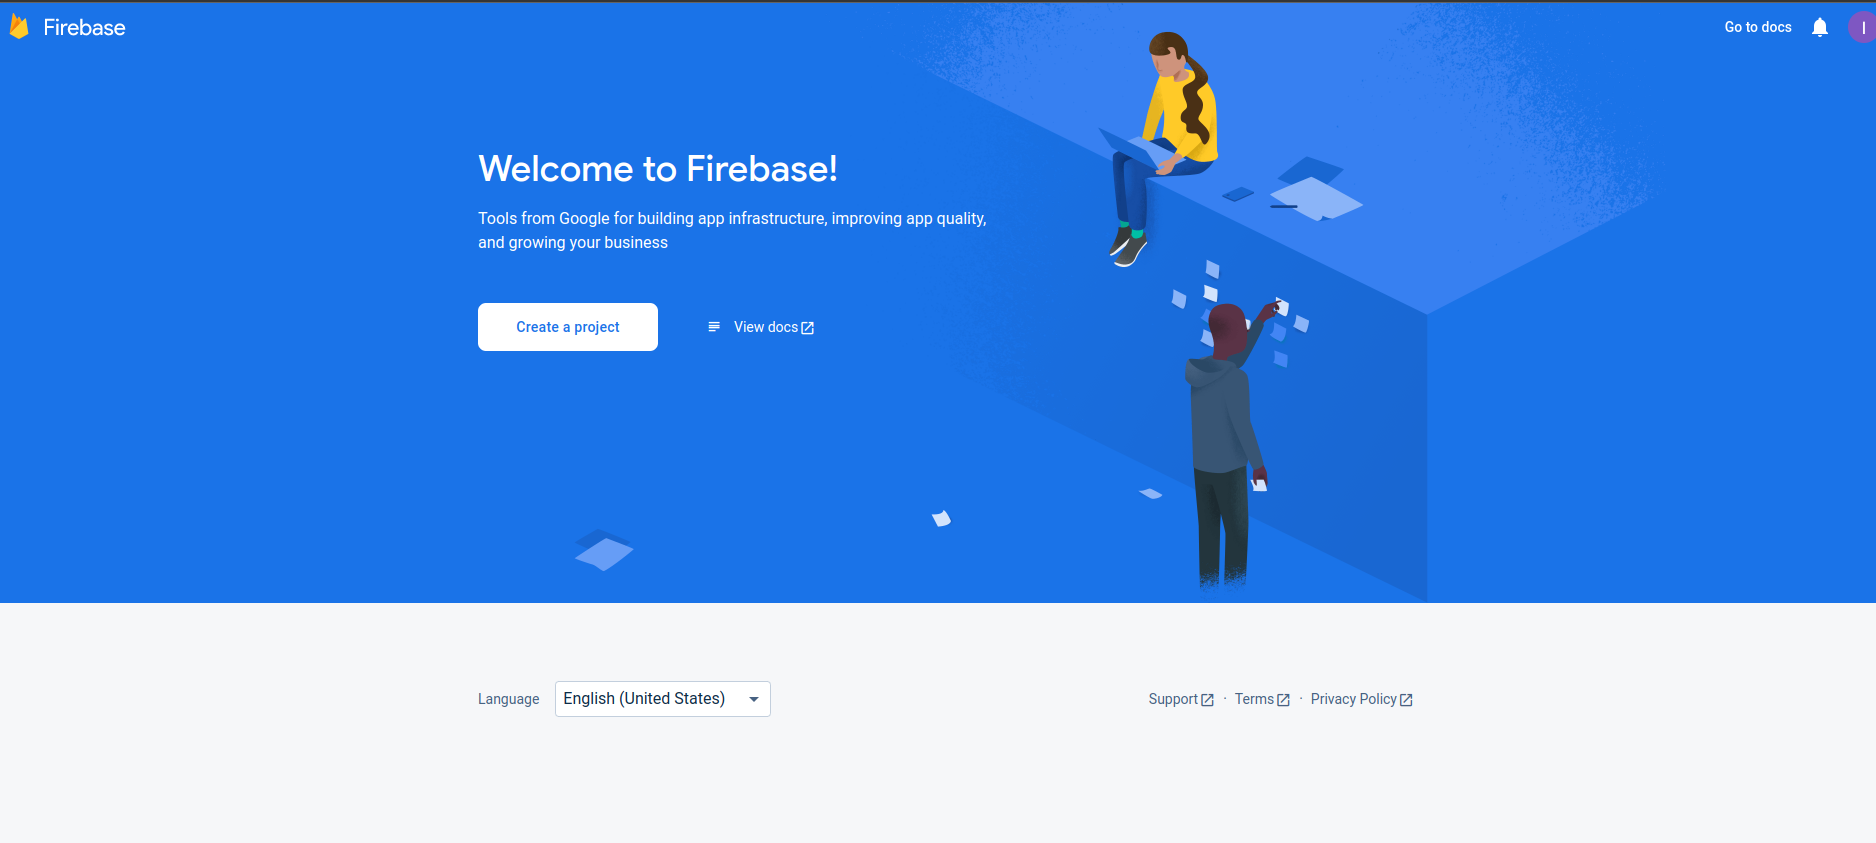
STEP 1 - Create Firebase Project
- Goto Firebase console.
-
Register new account or try to log in with existing accout
-
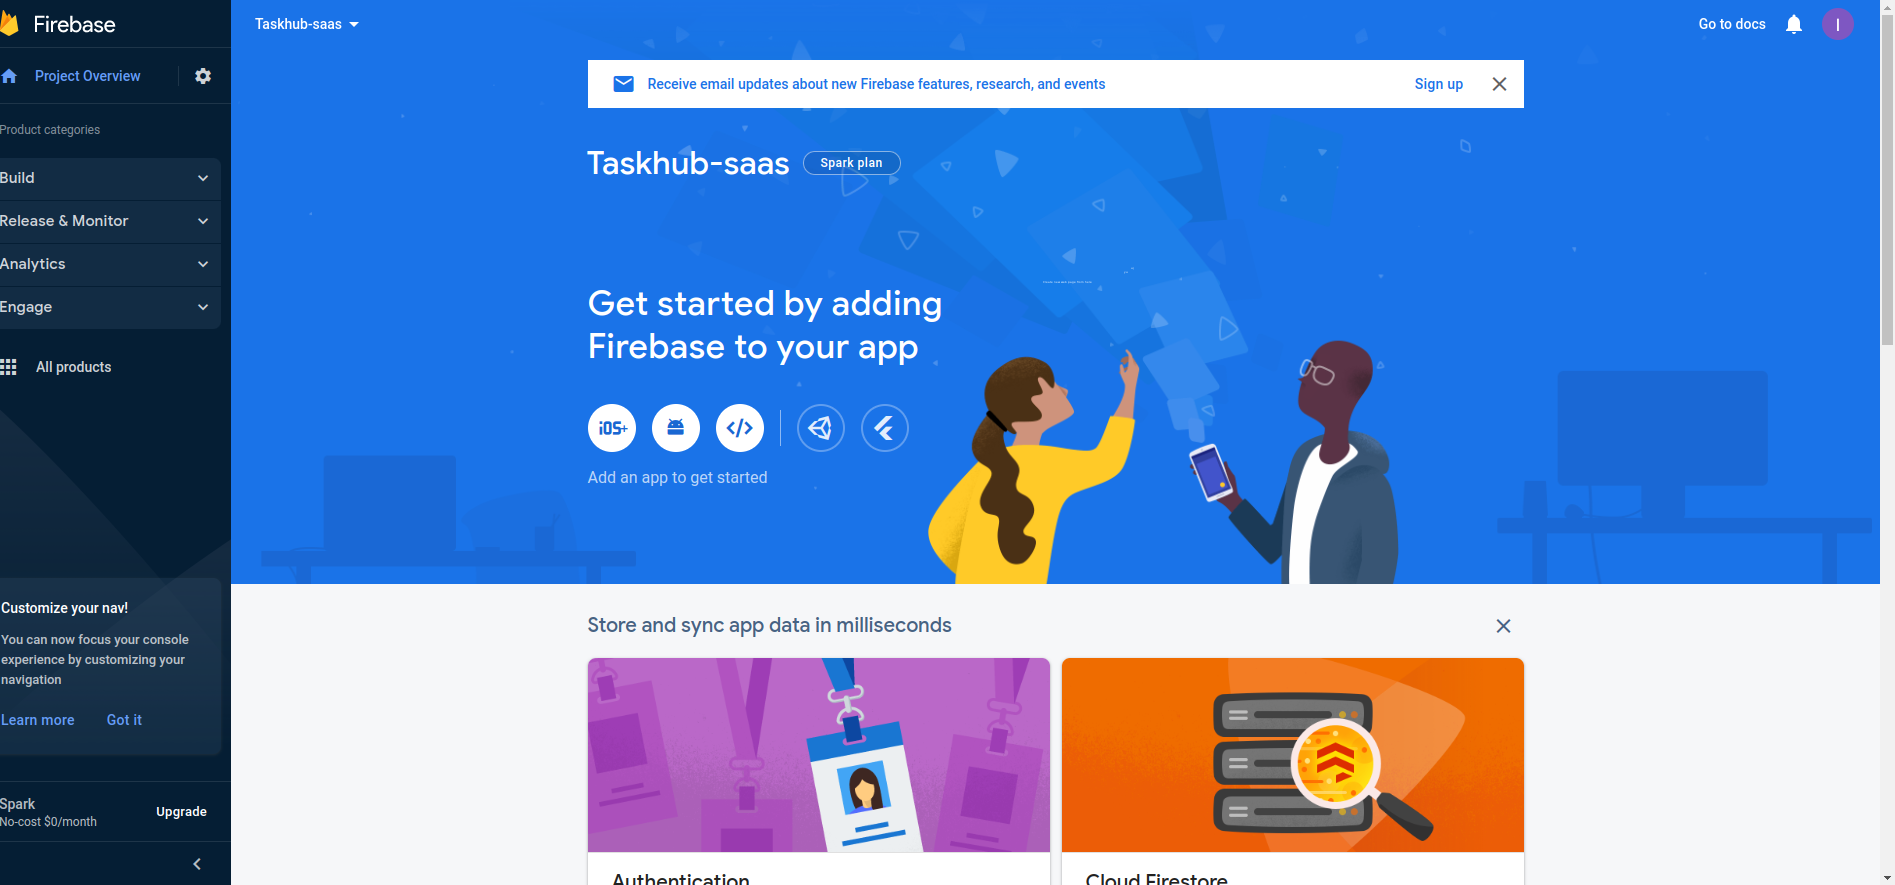
Once logged in, you can see firebase console dashboard. Click on Add Project.
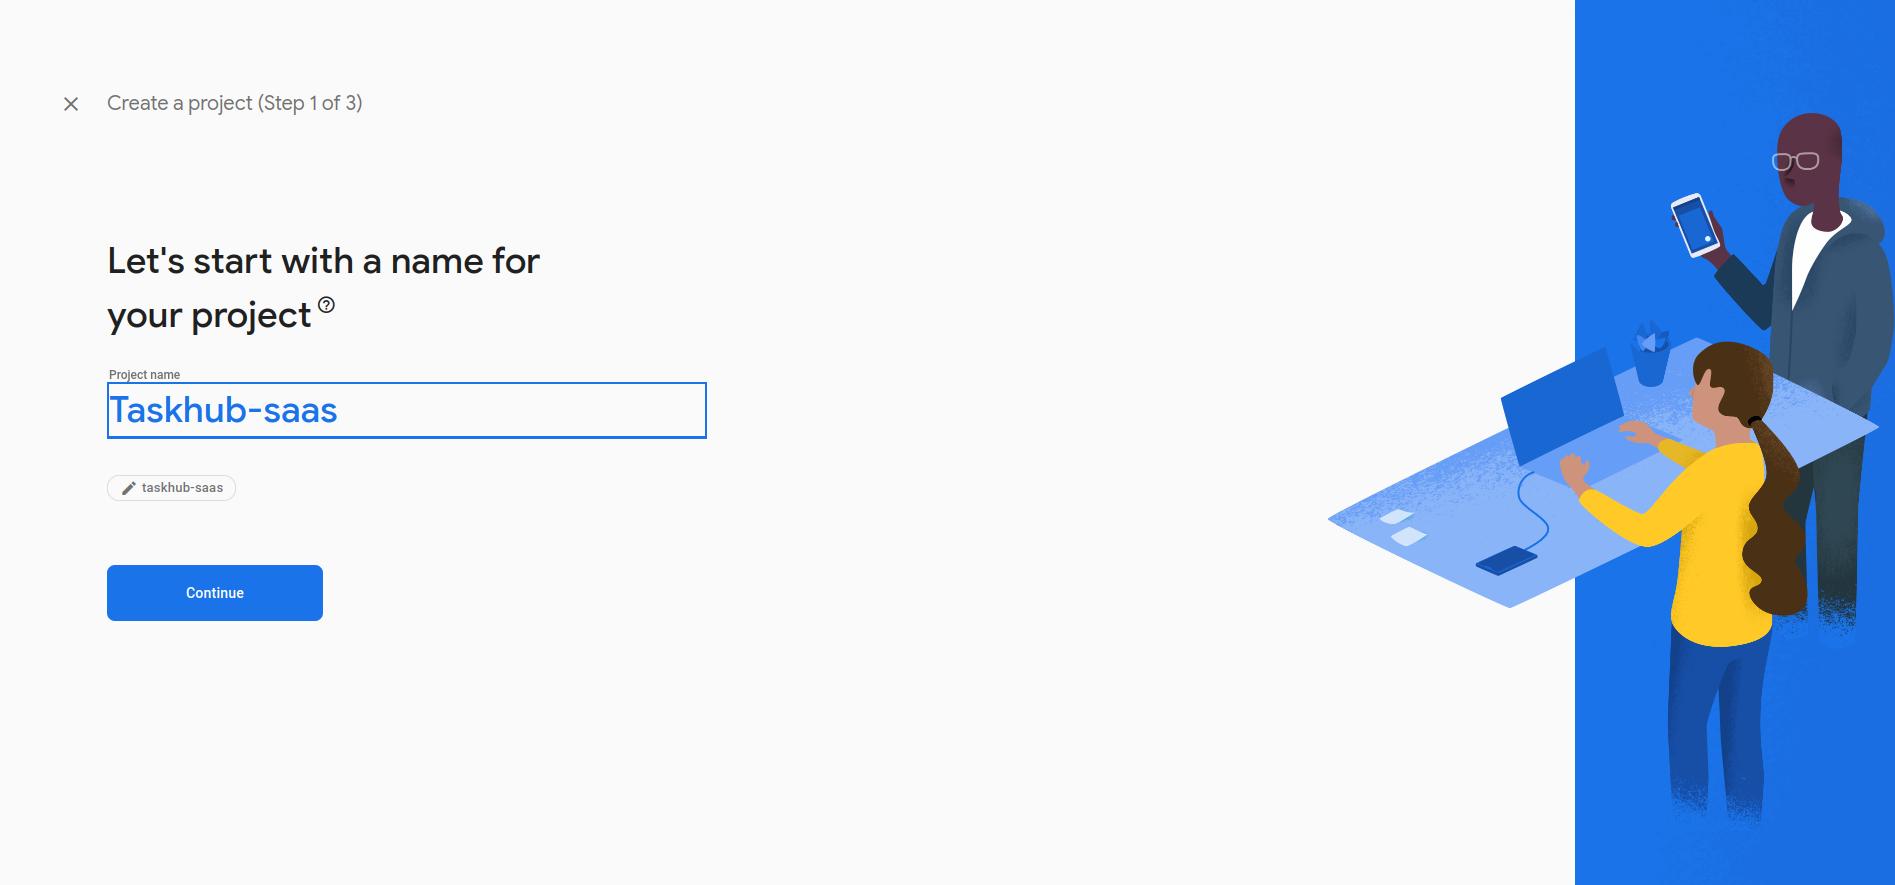
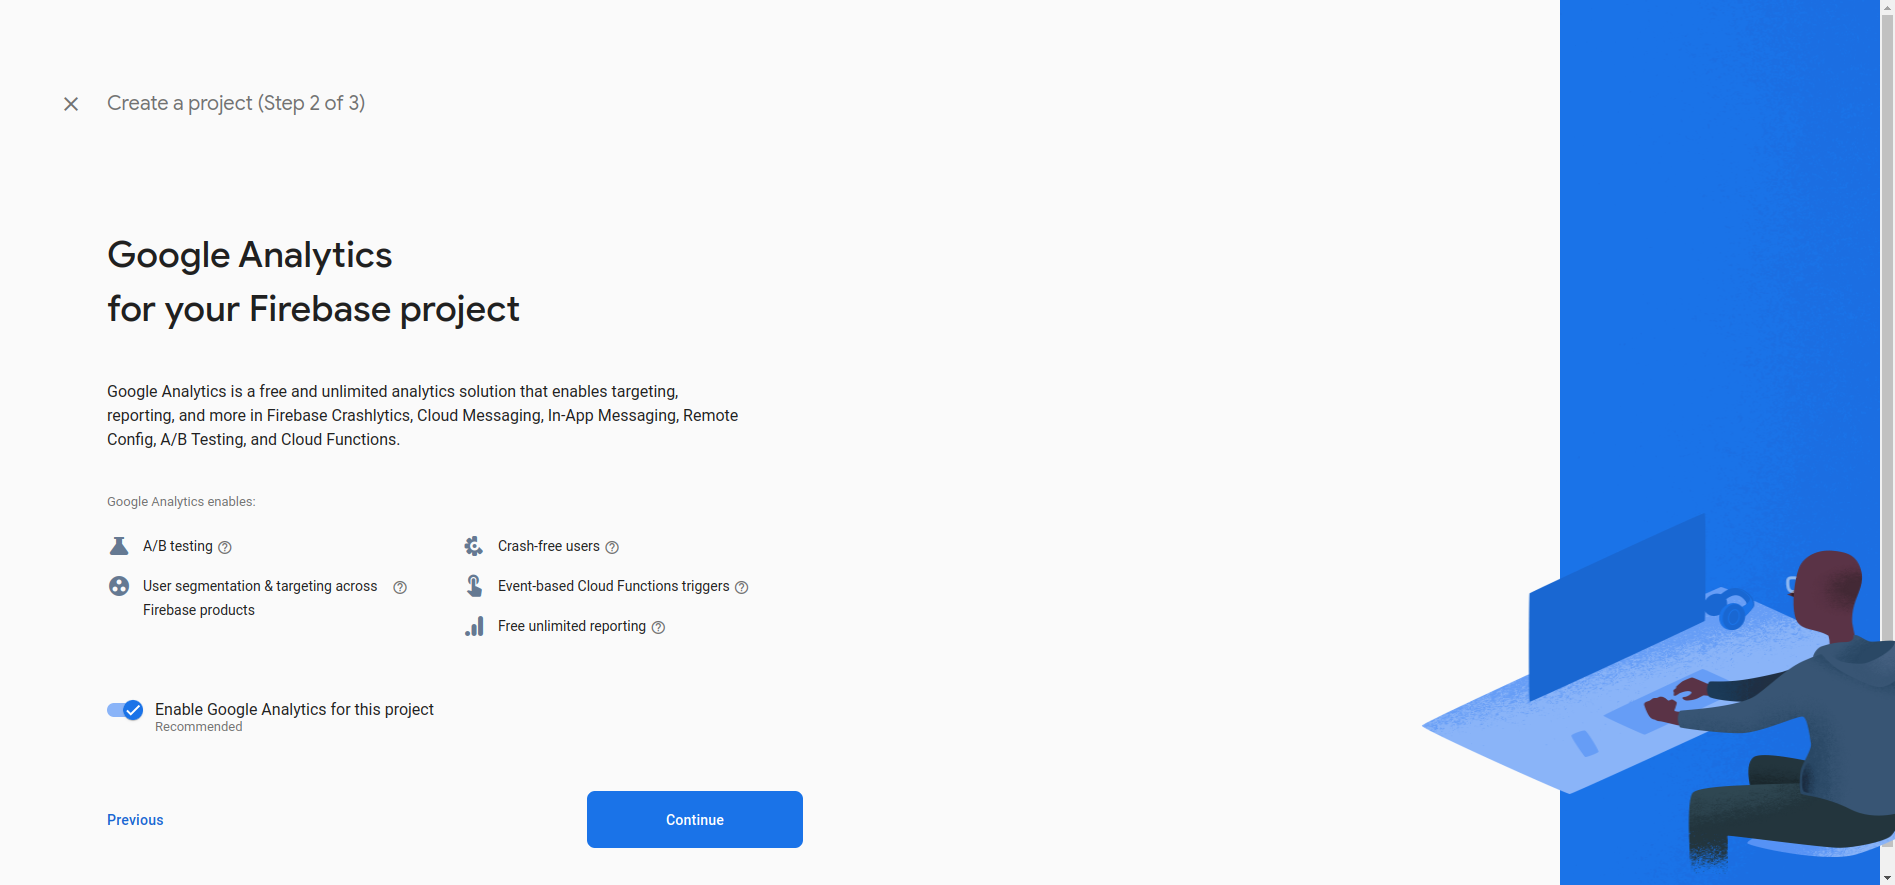
Provide a project name, and then select country and then after that click on
Create
Project. For example, see the below image.
-
Once the project has been created, it will automatically redirect to Firebase
dashboard screen
-
As Taskhub-SaaS is a web project, you need to add web project/application to the
firebase
project.
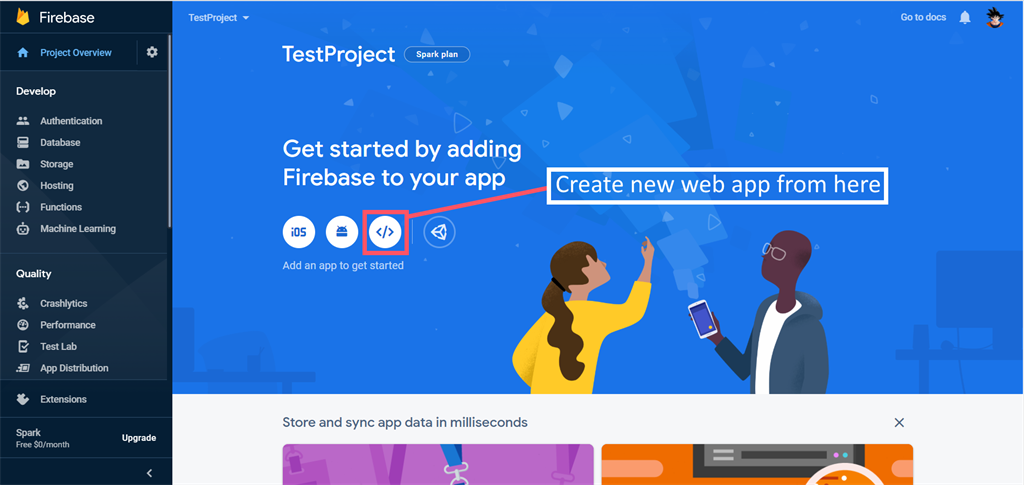
-
As mentioned in an earlier image, you can add Firebase to your web app.
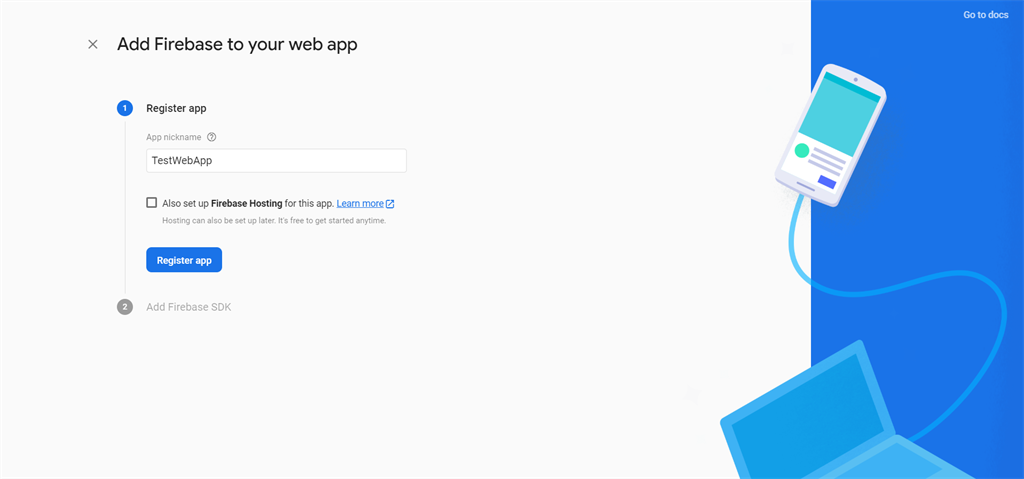
-
Then in firebase console you will be redirected to the web app dashboard screen.
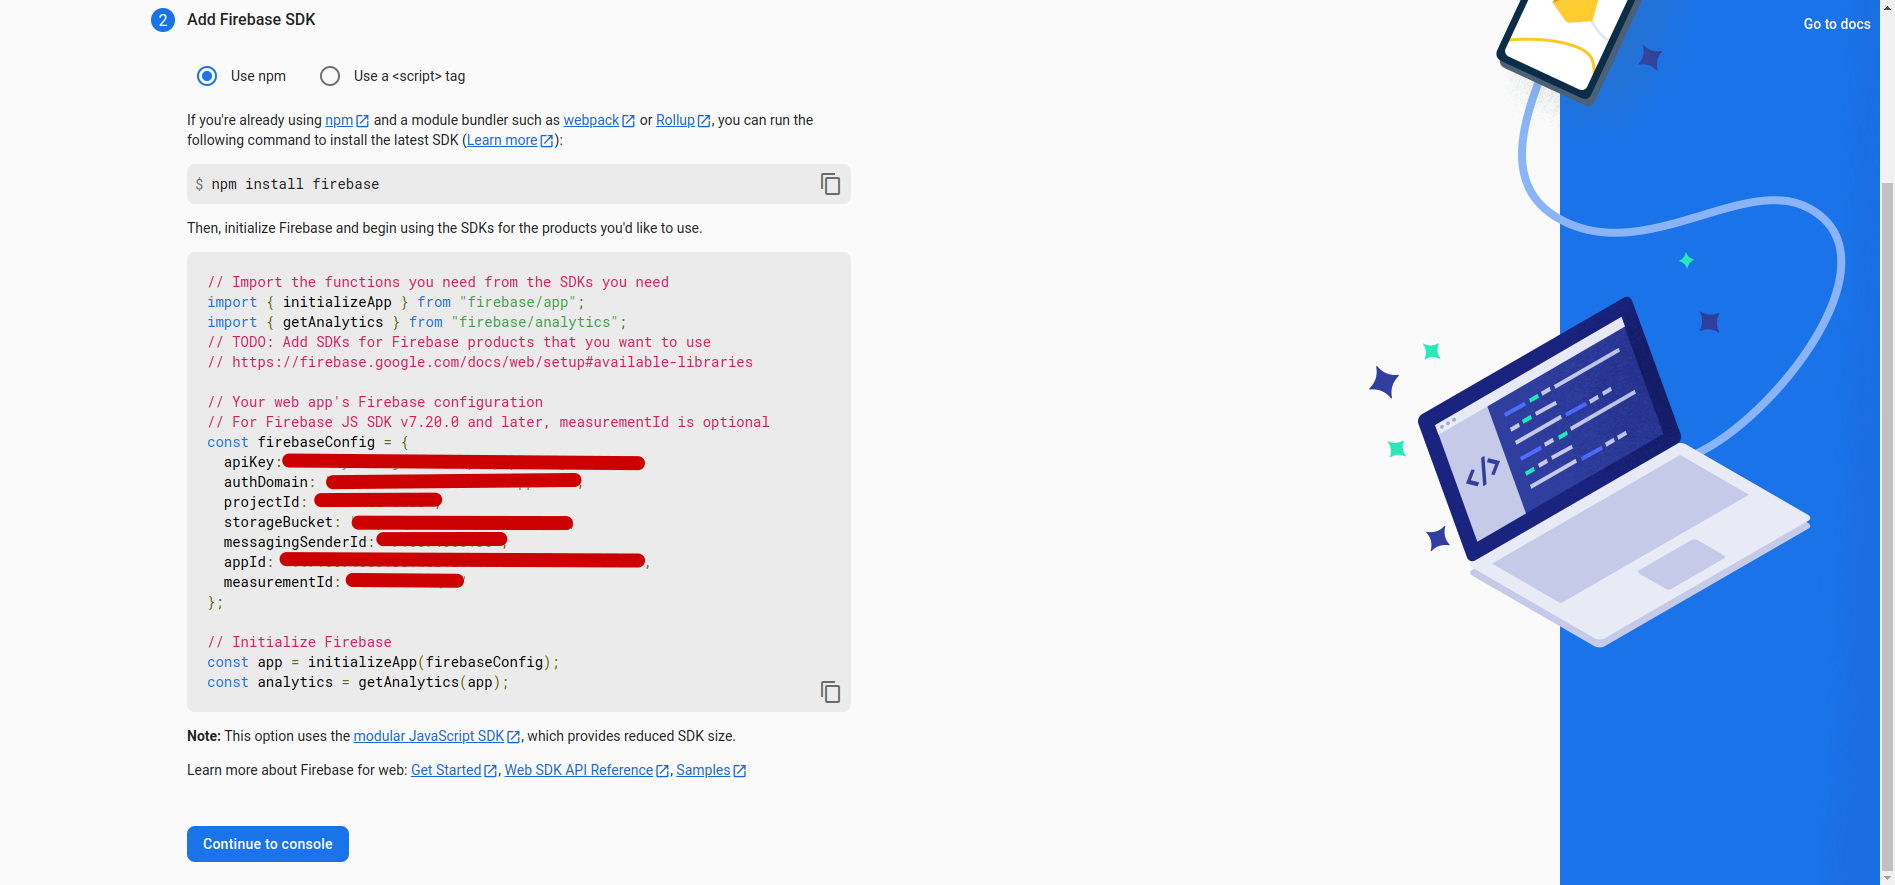
-
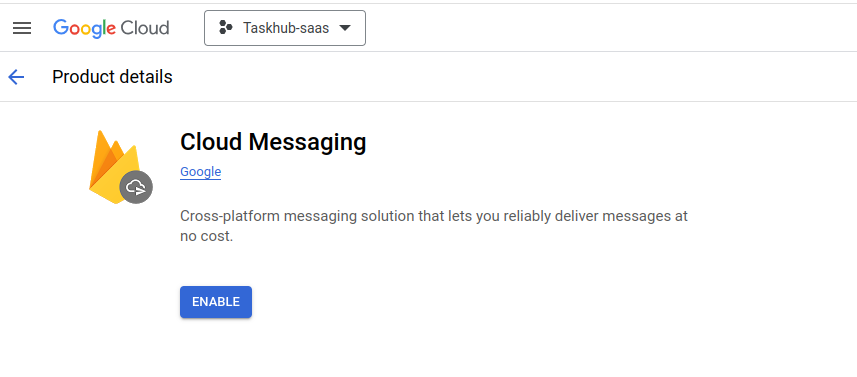
click on the Project settings there will be an option for Cloud messaging set
FCM
server key.

-
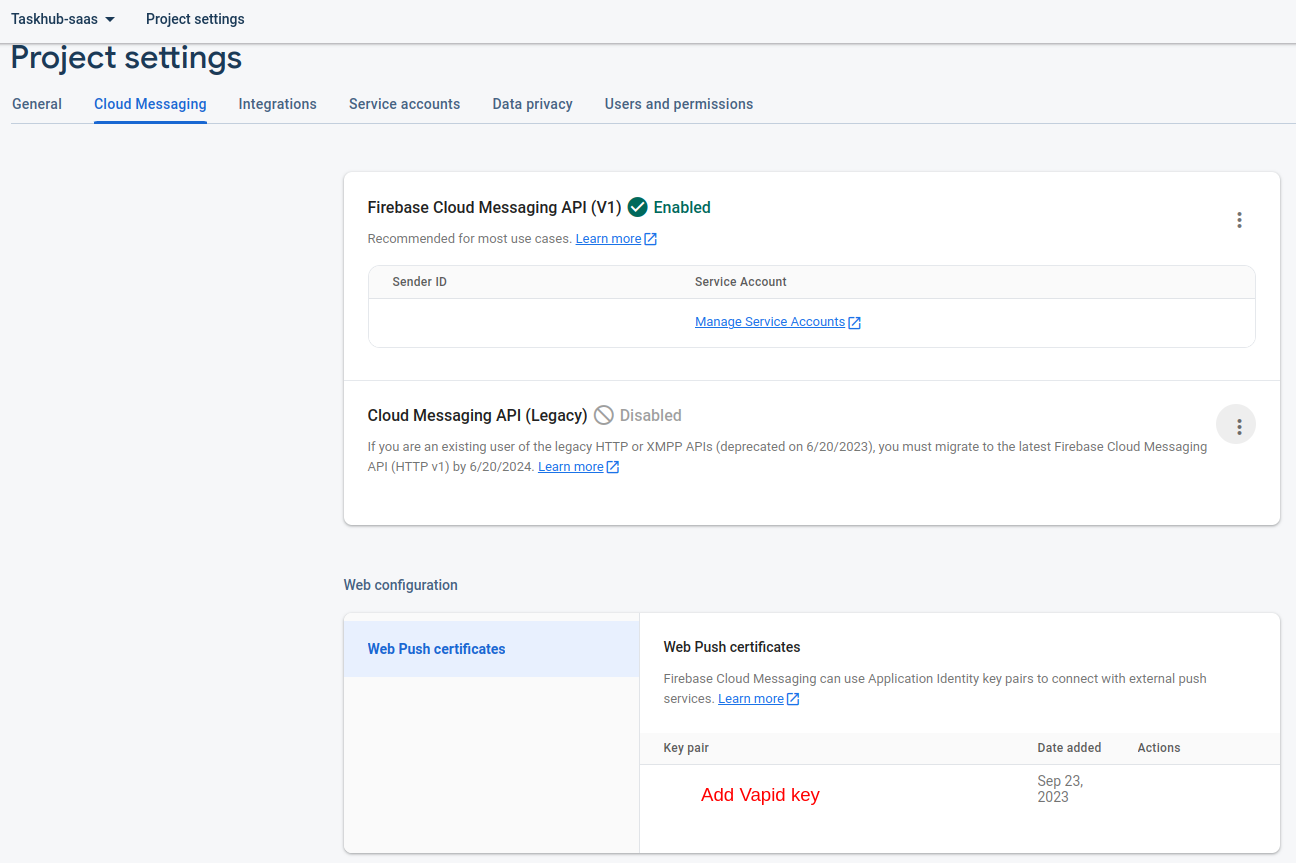
click on the Project settings there will be an option for Cloud messaging set
Vapid key.
-
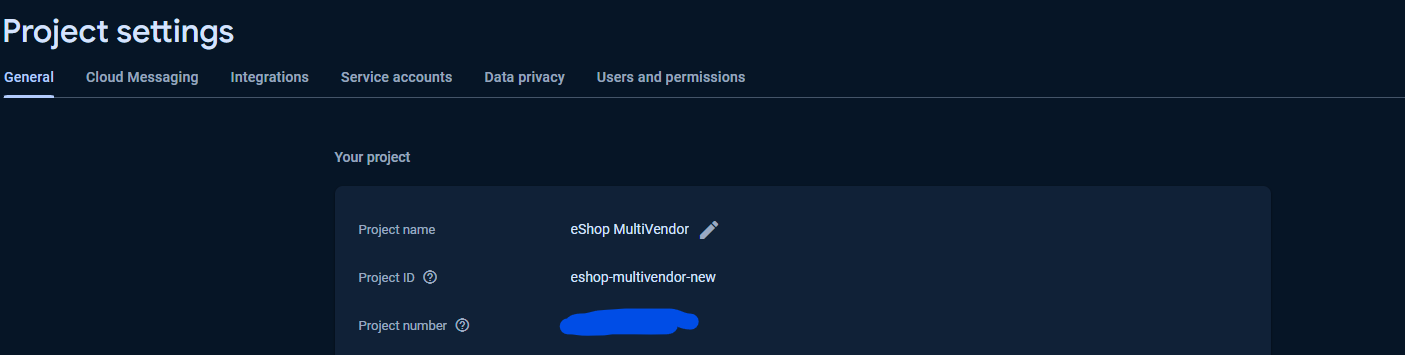
Firebase Project ID : Firebase → Project Settings → General → Project ID
-
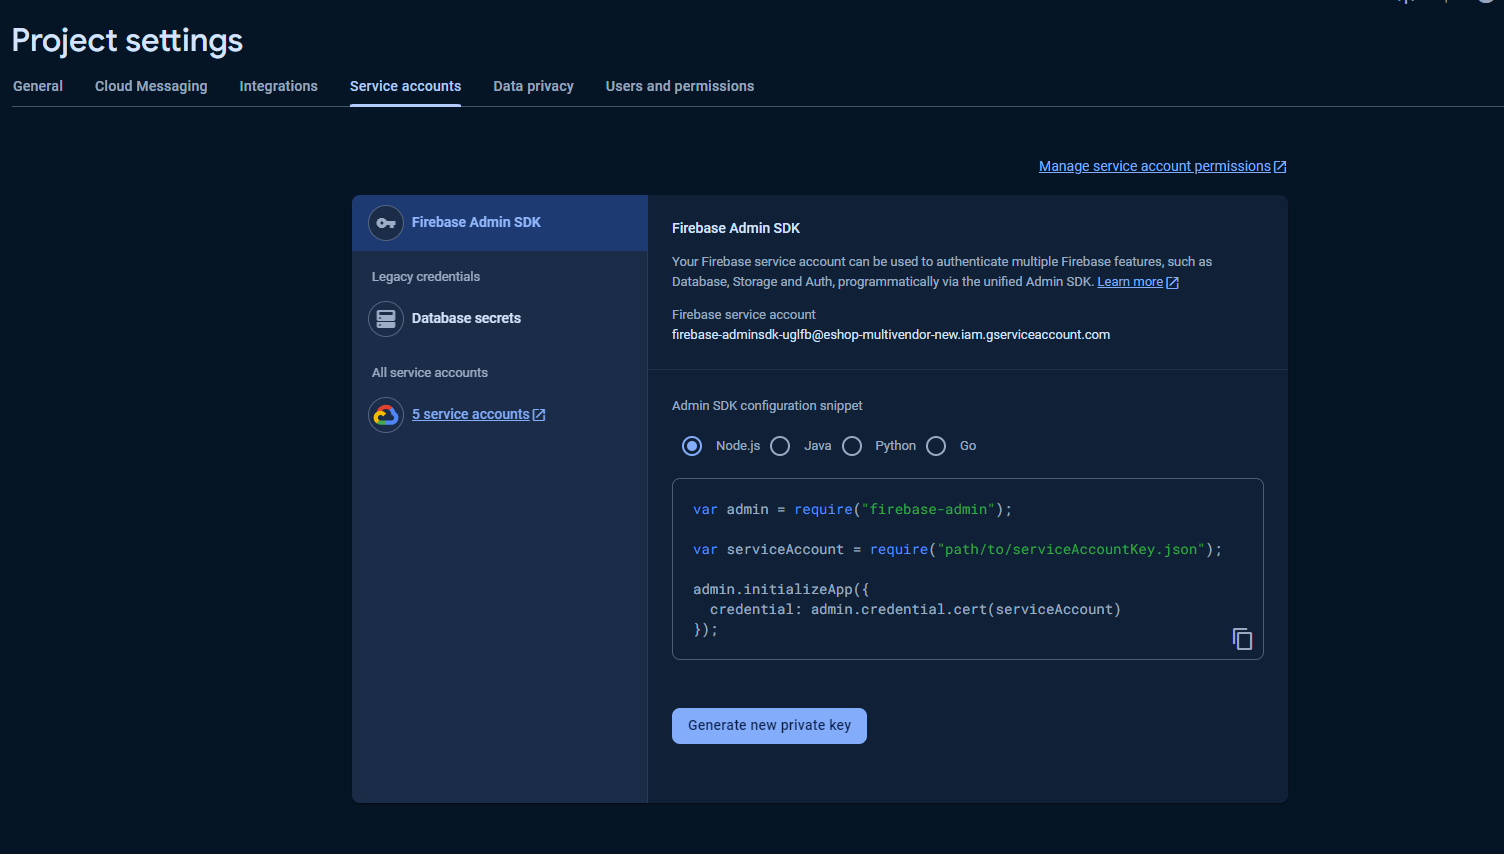
Service Account File : Firebase → Project Settings → Service Account → Generate new
private key → Here you will get a JSON file which you need to upload in the admin
panel
- Vap id : Firebase → Project Settings → Cloud Messaging → Web Configuration → here you have to generate it
- Firebase Project ID : Firebase → Project Settings → General → Project ID
- Service Account File : Firebase → Project Settings → Service Account → Generate new private key → Here you will get a JSON file which you need to upload in the admin panel
Table of Contents
-
Super admin
- Configure on your server
- Settings (General,Email,System)
- Profile
- Dashboard
- Packages
- Subscriptions
- Transactions
- Users
- Front panel settings
- Manage Languages
-
Admin
- Login
- Signup
- Manage Workspaces
- Manage Projects
- Calendar
- Chat
- Send mail
- Announcements
- Notifications
- Billing
- Finance
- Users
- Activity logs
- Manage leave requests
- Manage notes
- Time Tracker
- Leads
- Email Templates
- Finance
- Knowledgebase
2. Settings
First Of all, we need to set general setting of app
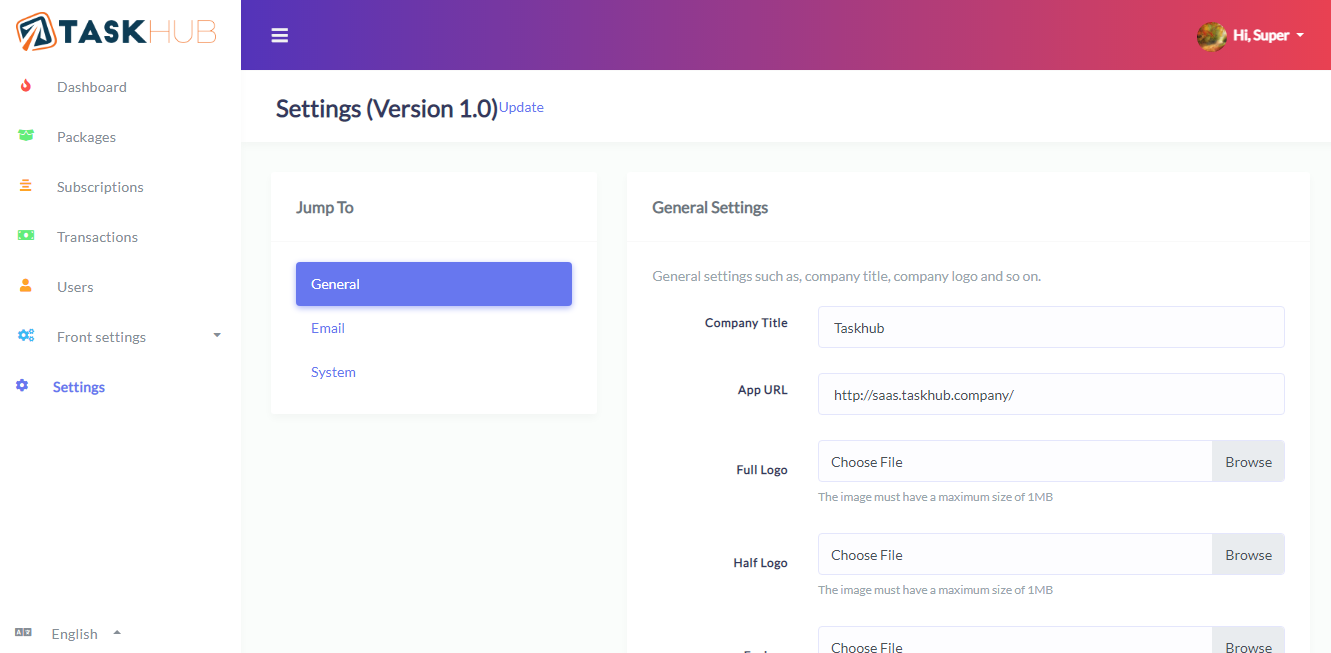
Make sure to add Company Title and App URL
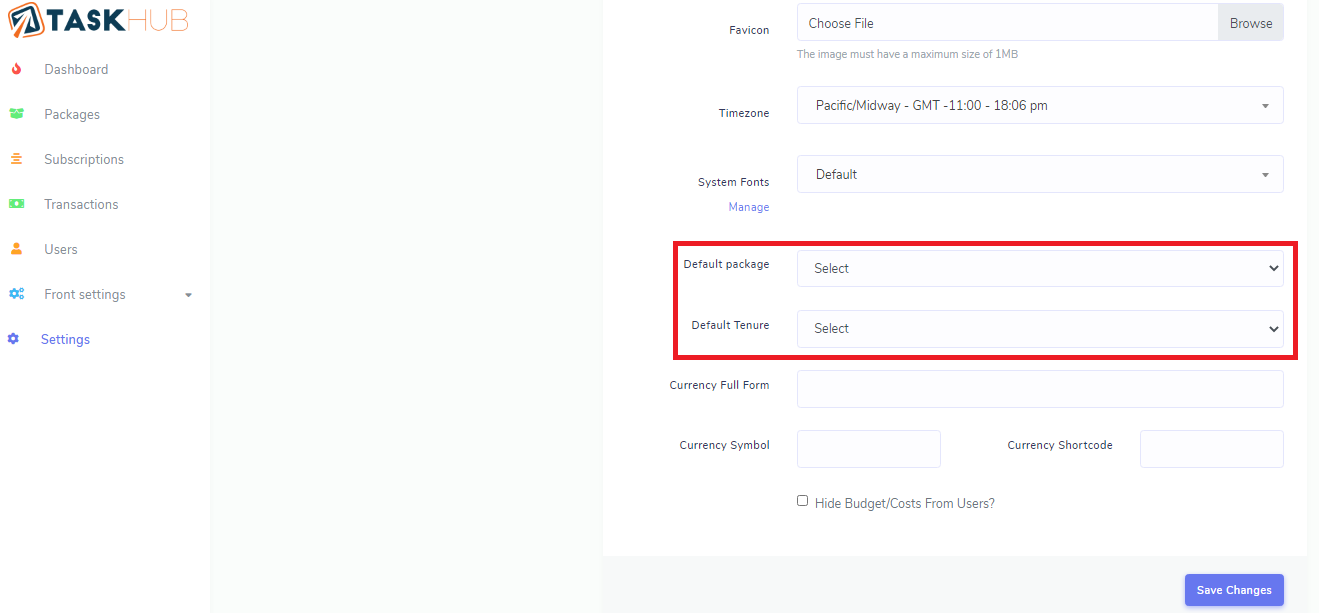
Here you can see Default package and Default tenure if these are set default package and tenure will assigned automatically when new company registers.
Added Dynamic header color options settings

Now go to email setting. Without email setting email functionality will not work.

Now go to system setting. Without system setting chat functionality will not work. Get Your FCM Details Here - Documentation and FCM server key

Done. Now you can use TaskHub-SaaS without any problem.
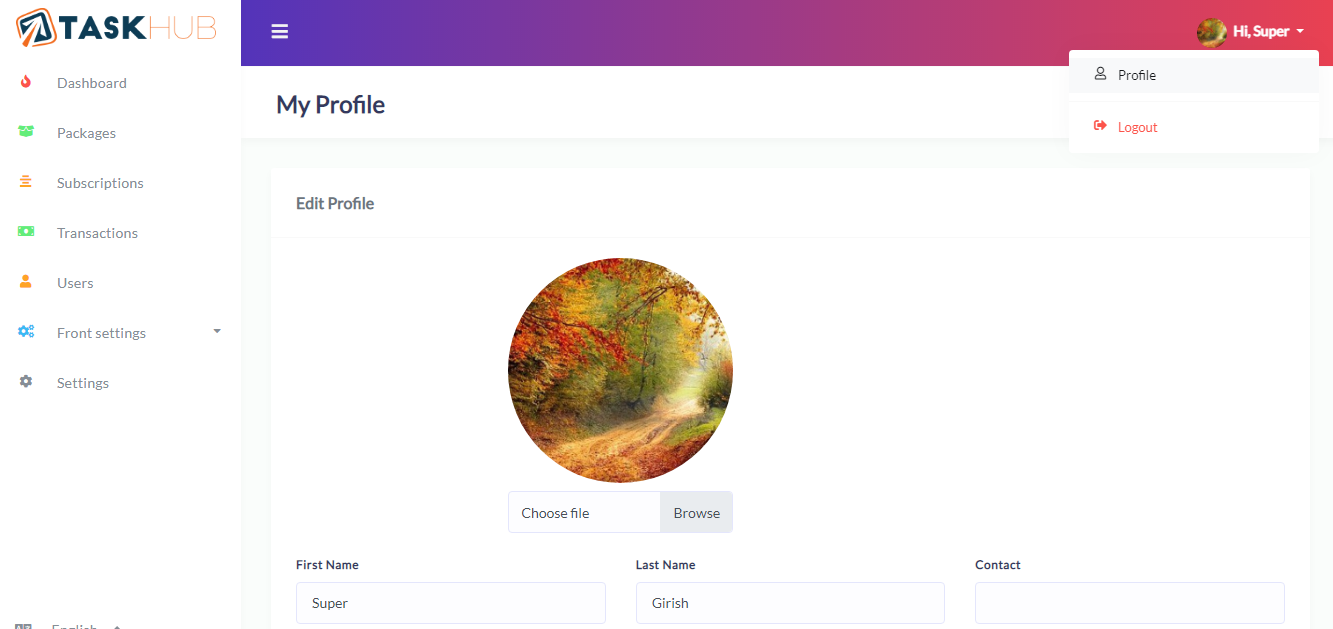
3. Profile
Click at top right corner on your name. Then select profile from the dropdown and update own profile.
4. Dashboard
Dashboard summarizes earnings, subscriptions and packages.


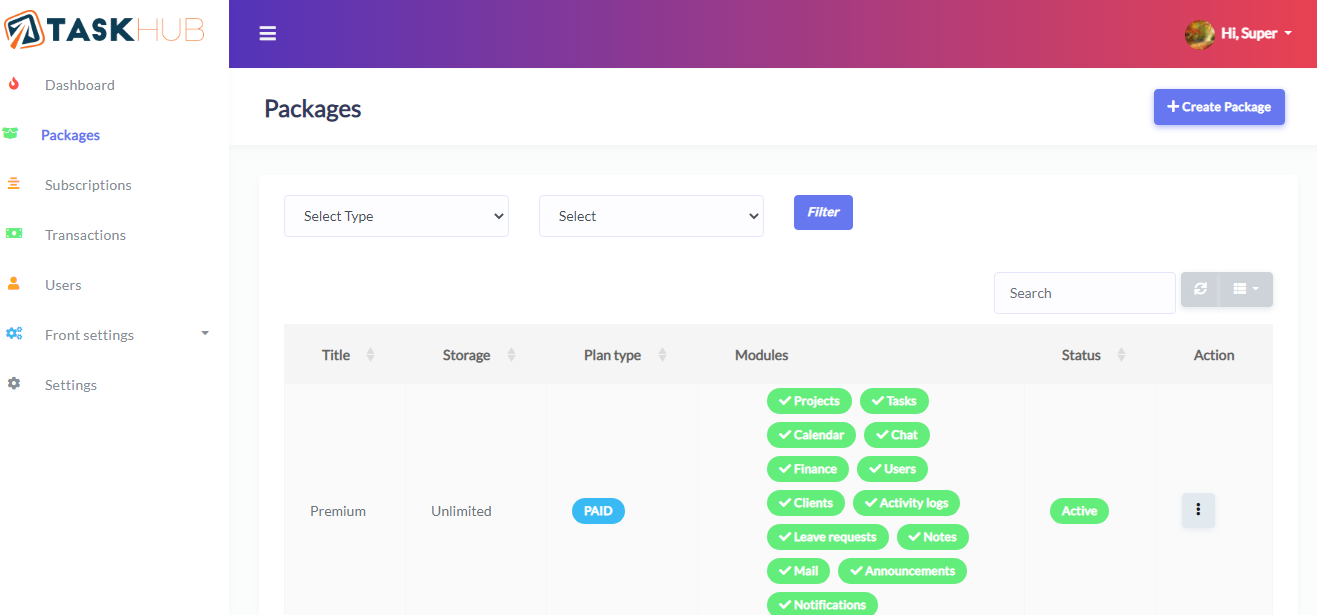
5. Packages
Super admin can create and manage packages from here
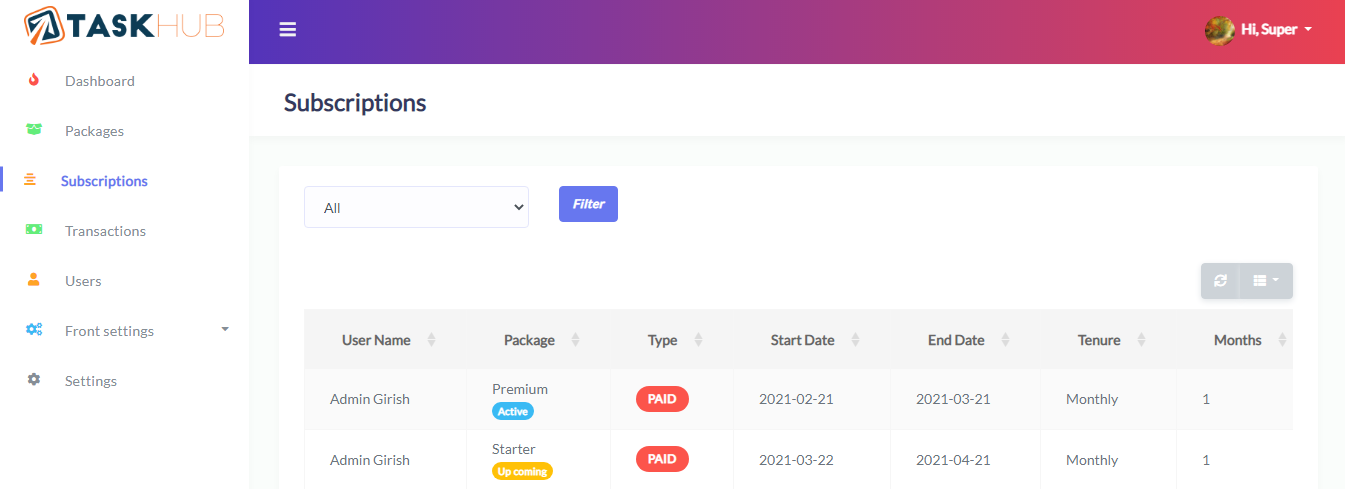
6. Subscriptions
Super admin can view all the subscriptions from here
7. Transactions
It will show all the transactions to super admin
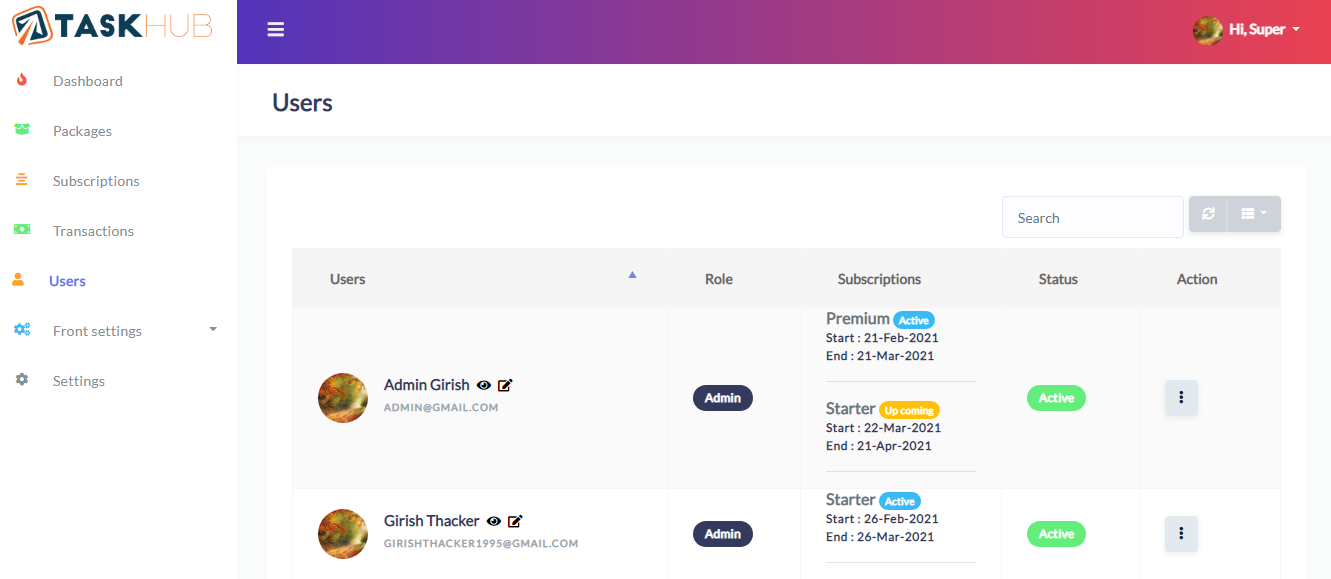
8. Users
Users list with subscription details
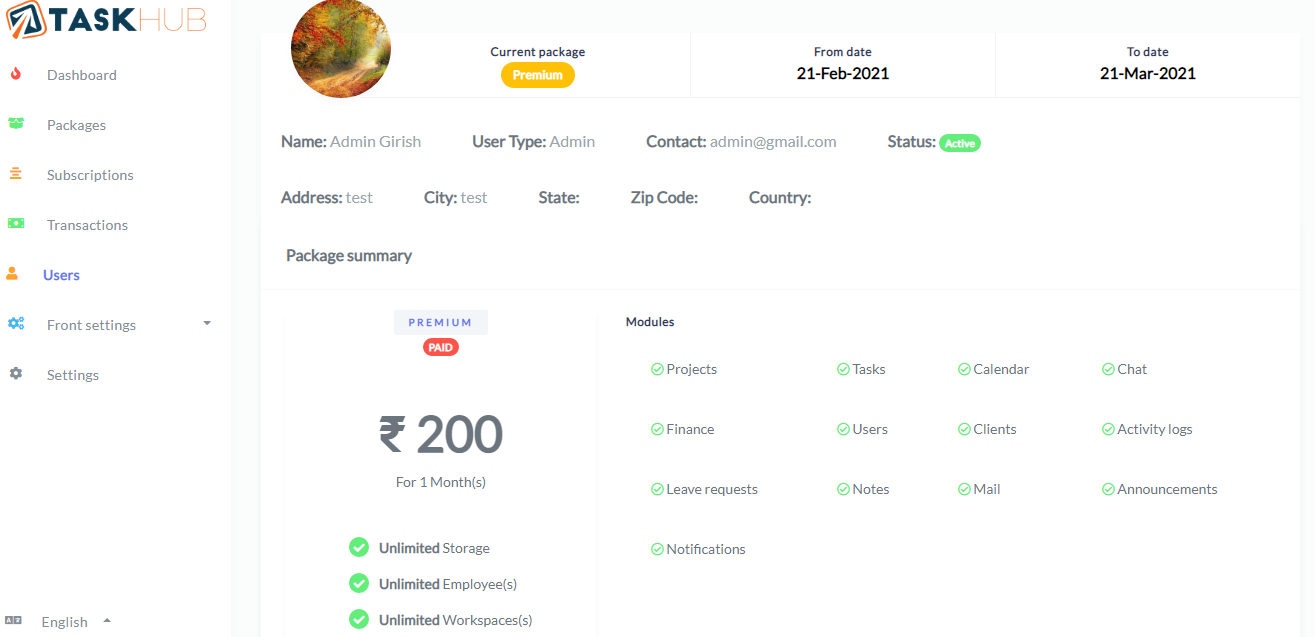
User's active subscription details
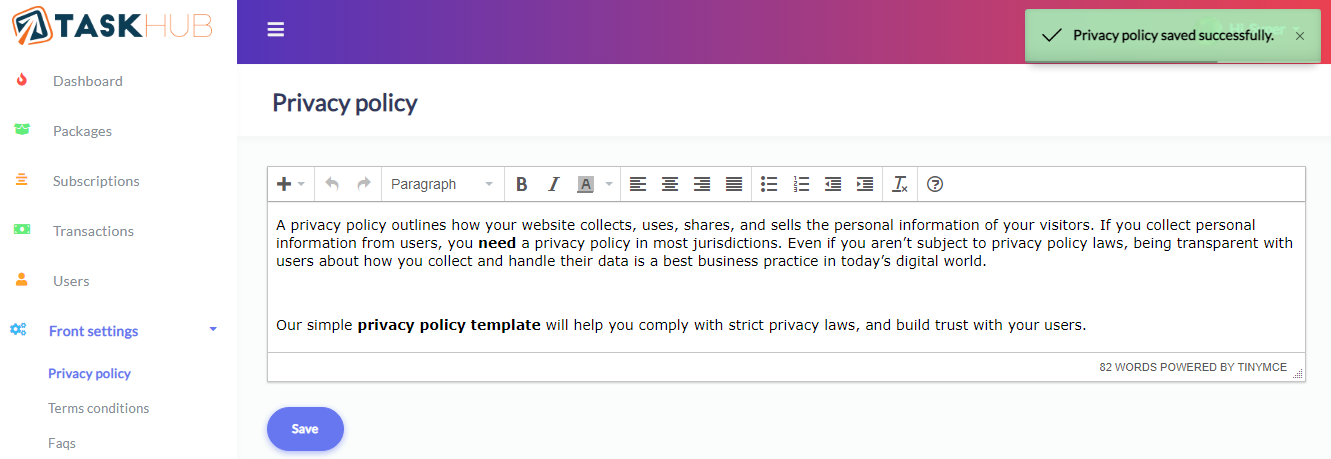
9. Front panel settings
Super admin can manage front panel settings like privacy policy, terms and conditions, Faqs, Contact us, Payment methods
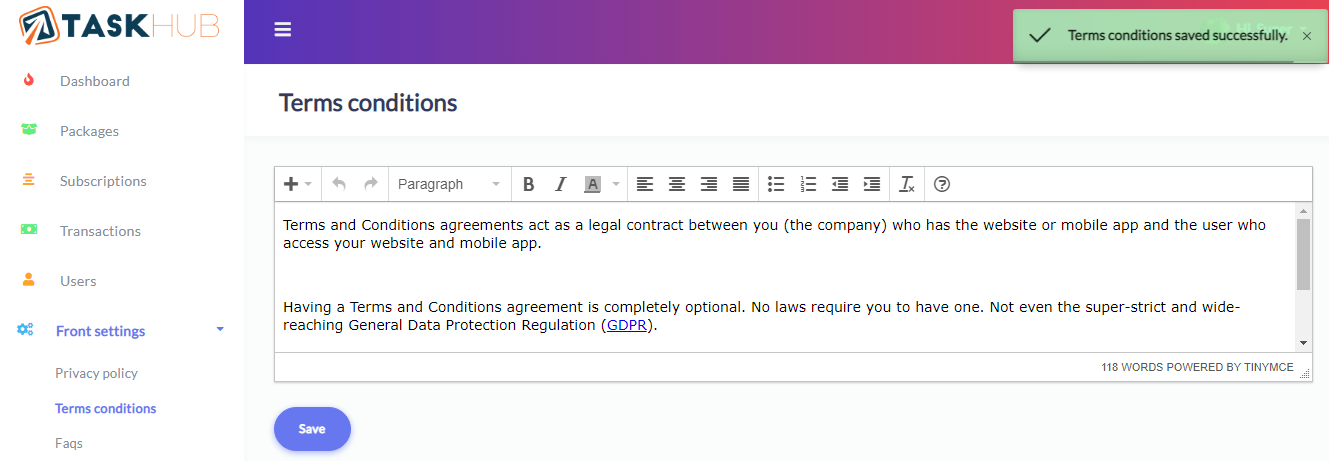
Privacy policy
Terms and conditions
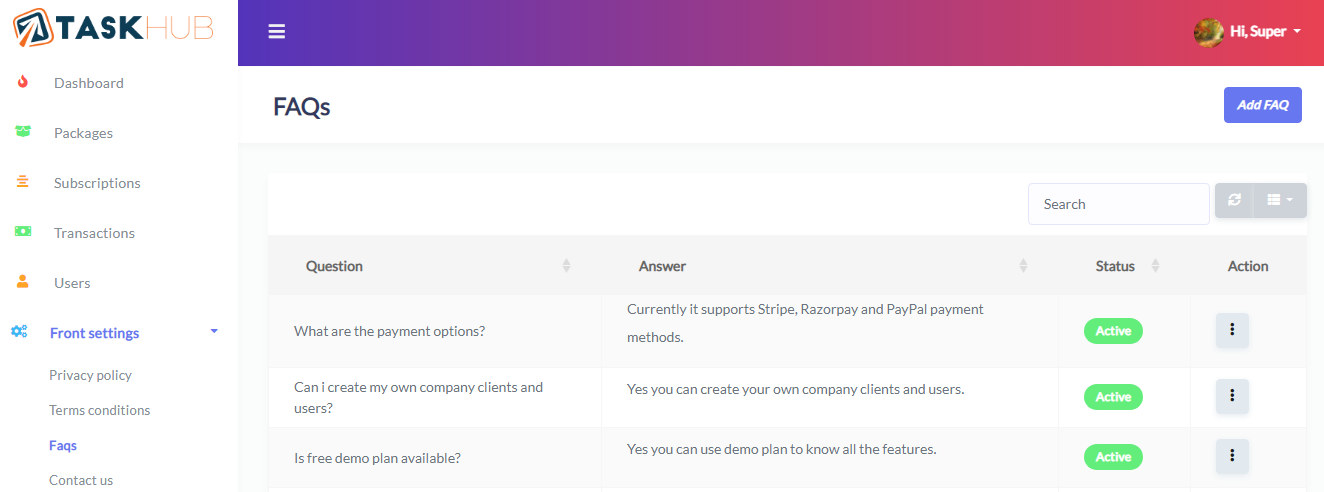
Faqs
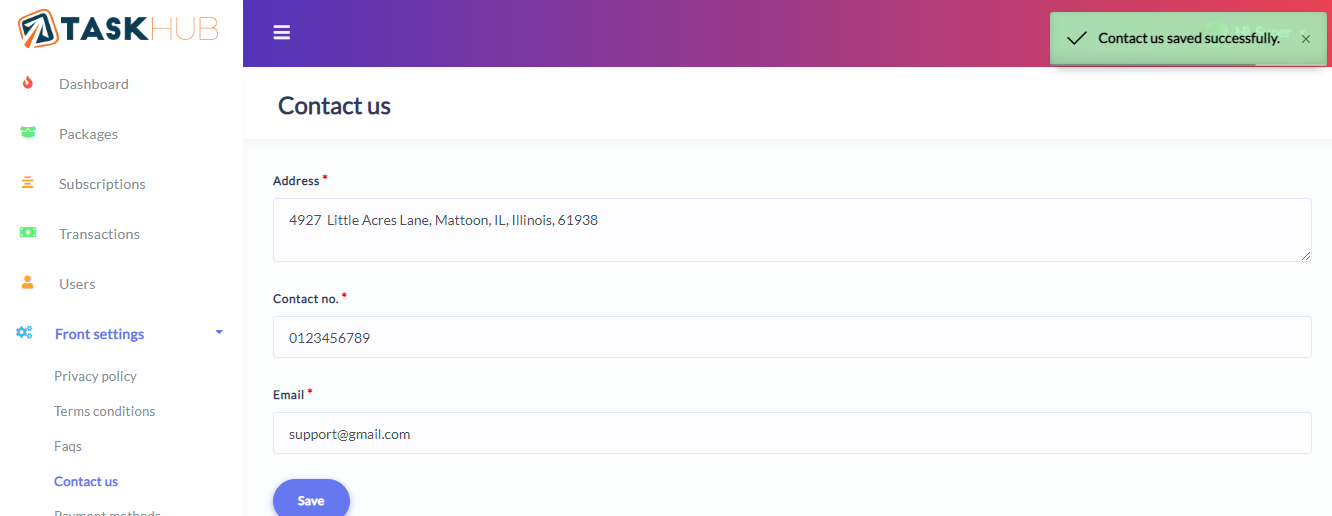
Contact us
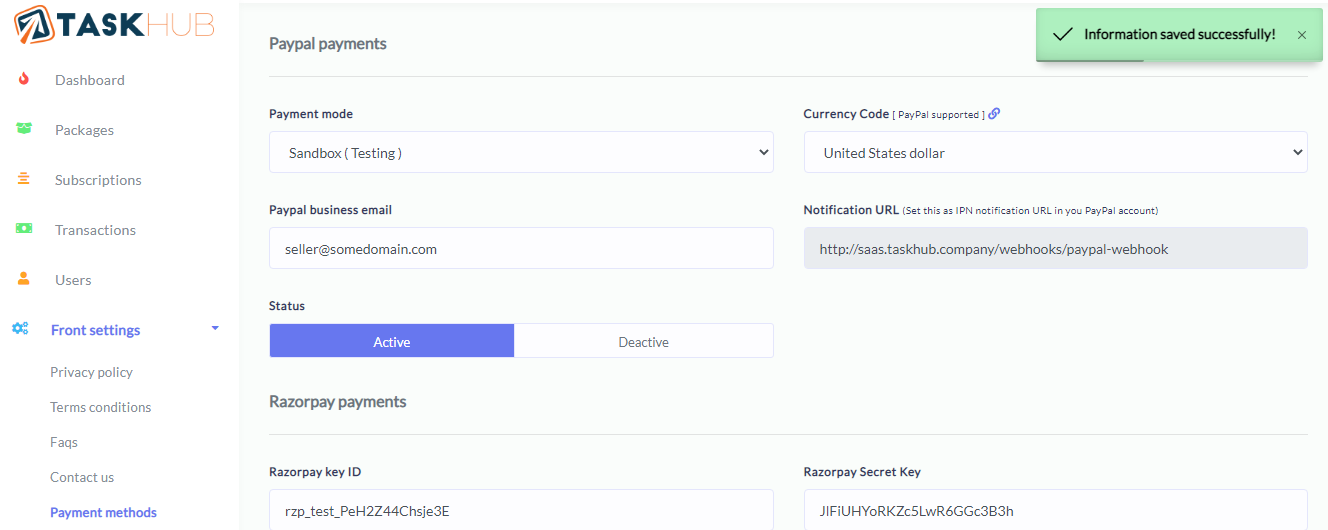
Payment methods
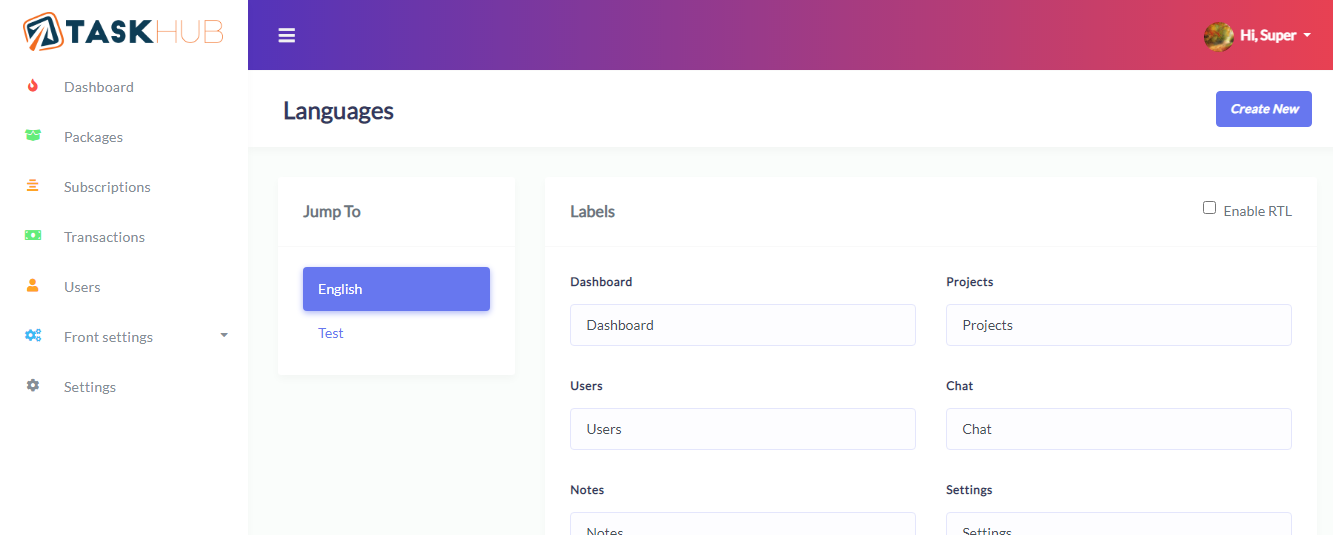
10. Manage Languages
Create and Manage Languages.
Admin
1. Login
After successful signup admin can login to account from here.
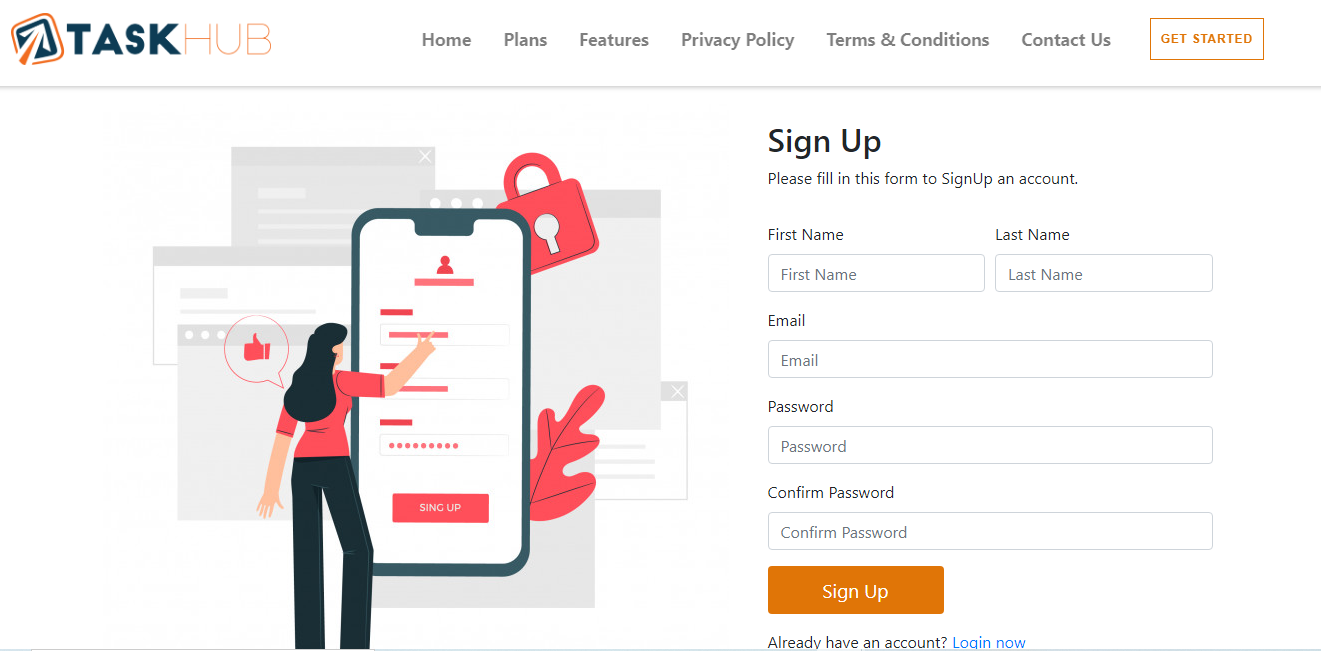
2. Signup
Admin can create new account(signup) from here.
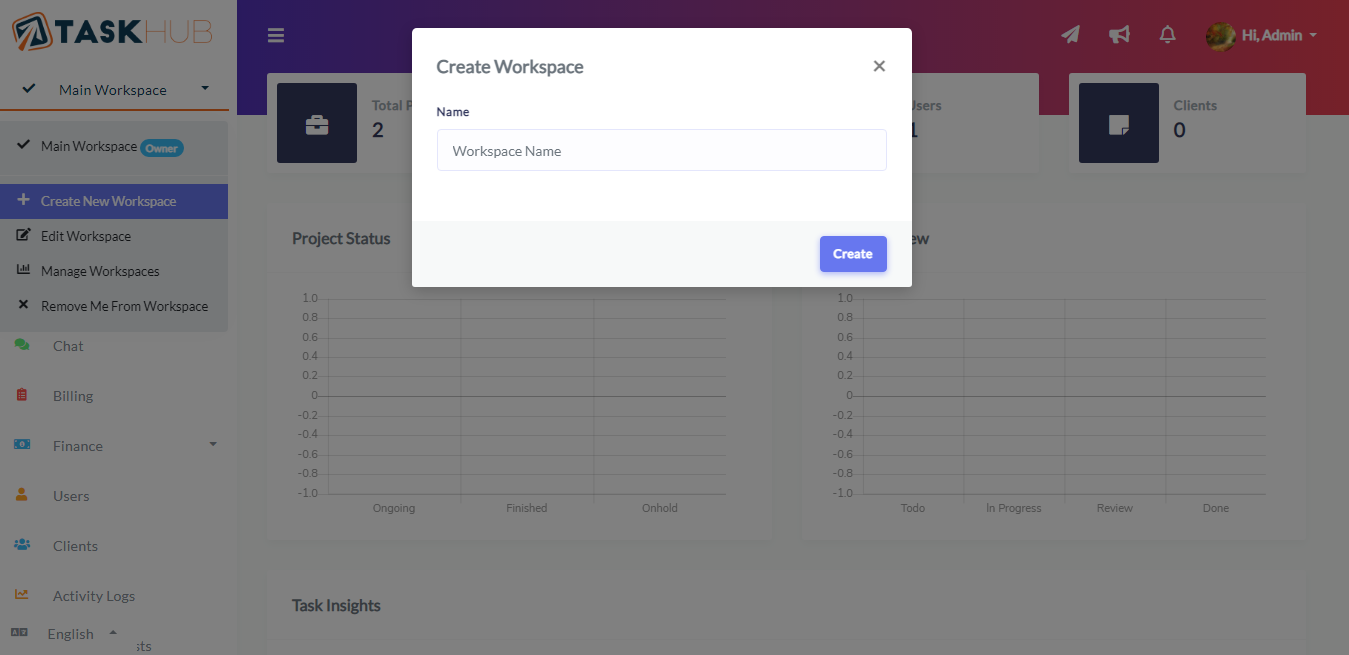
3. Manage Workspaces
You can create and manage workspace from header bar and remove your self from any workspace. All the workspace will be listed in header bar and you can switch between them by click on them.
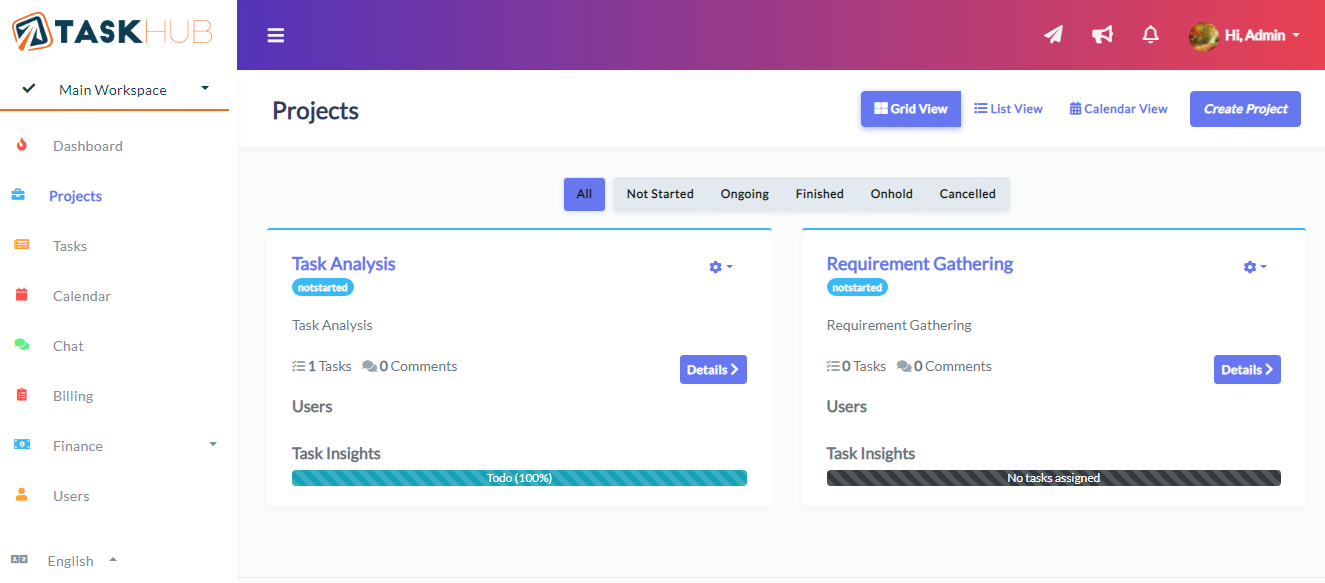
4. Manage Projects
All the project will be listed here. You can create, update and delete project from here. there are 3 types of views are available for projects 1. Grid 2. List and 3. Calendar view.
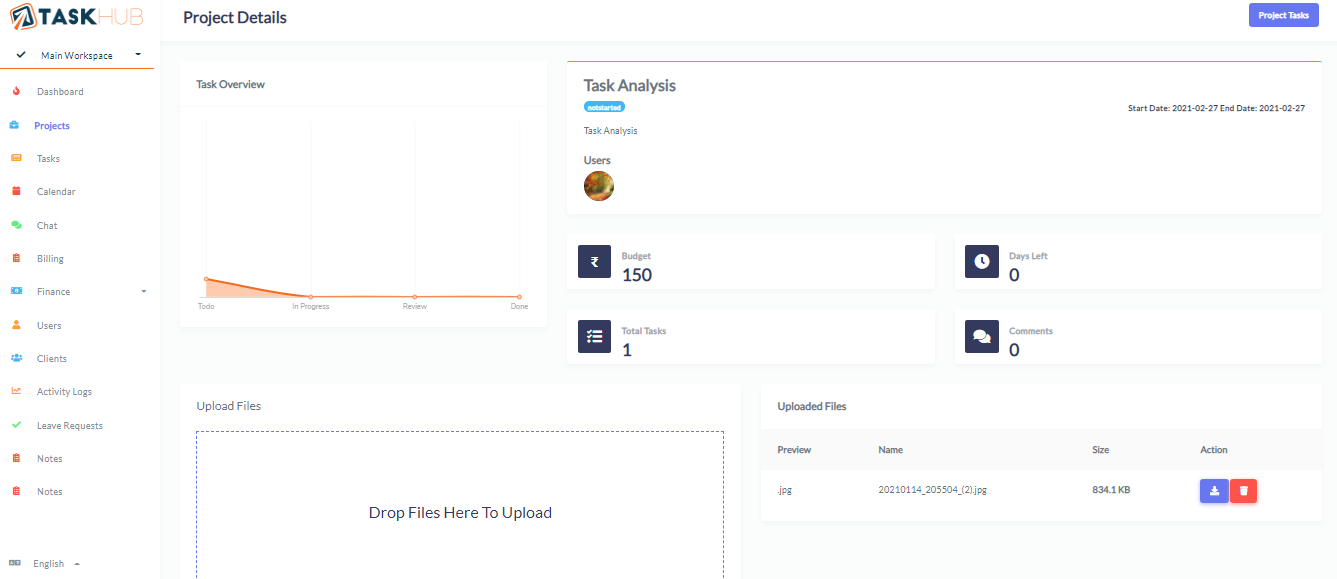
Details page of project all the details about that specific project will be shown here. On this page you can create milestones, tasks for project and also upload files related to the projects.
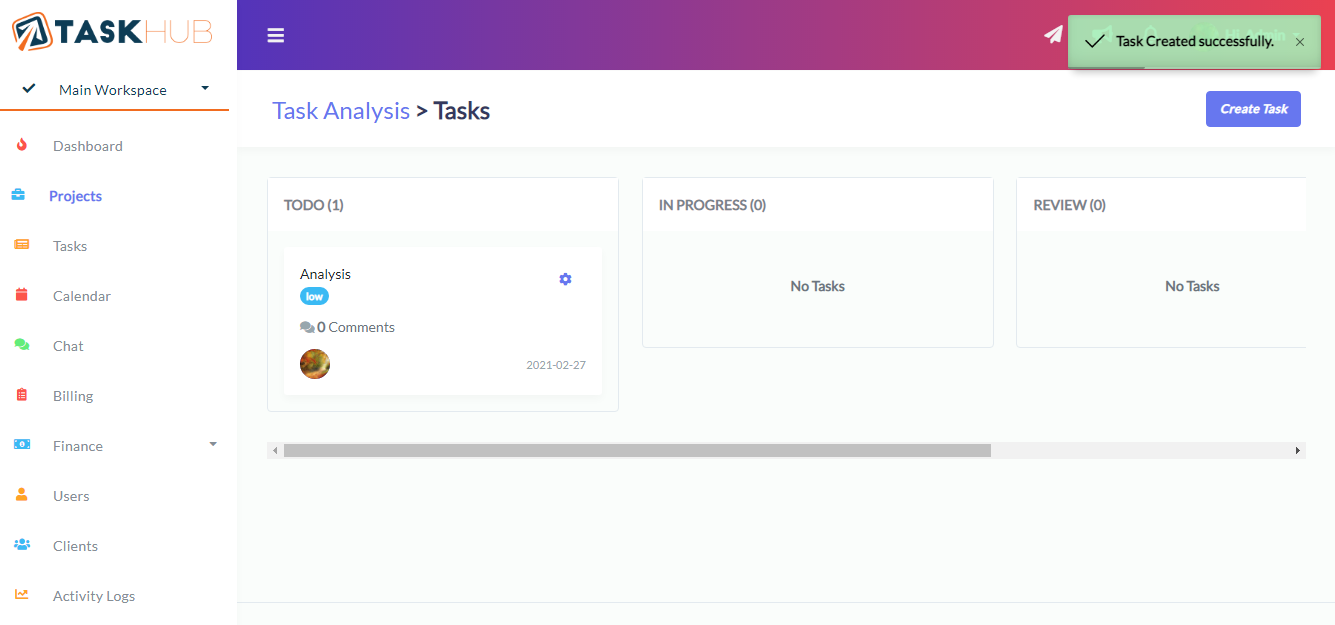
This is the page where you can create, update, delete tasks of the project and assing them to any user. You and user can drag and drop task in the process queue.
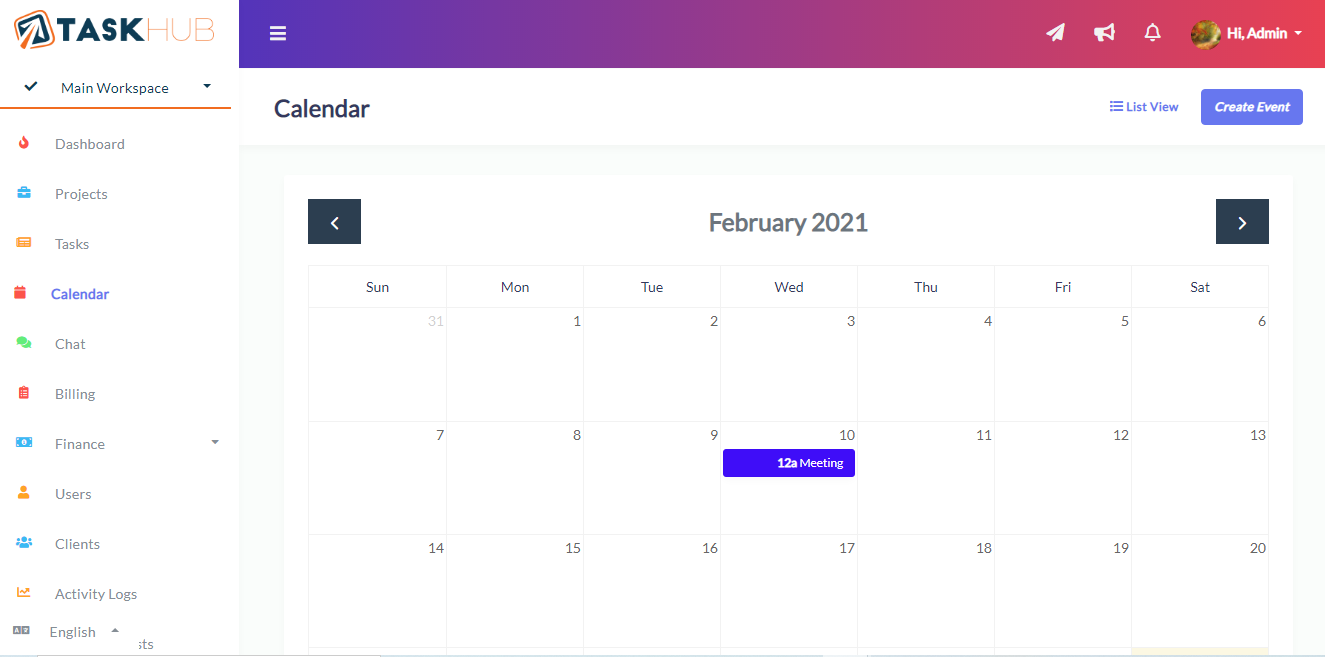
5. Calendar
Here you can Add, View, Edit & Delete events. there are two types of views available for events 1. calendar and 2. list view
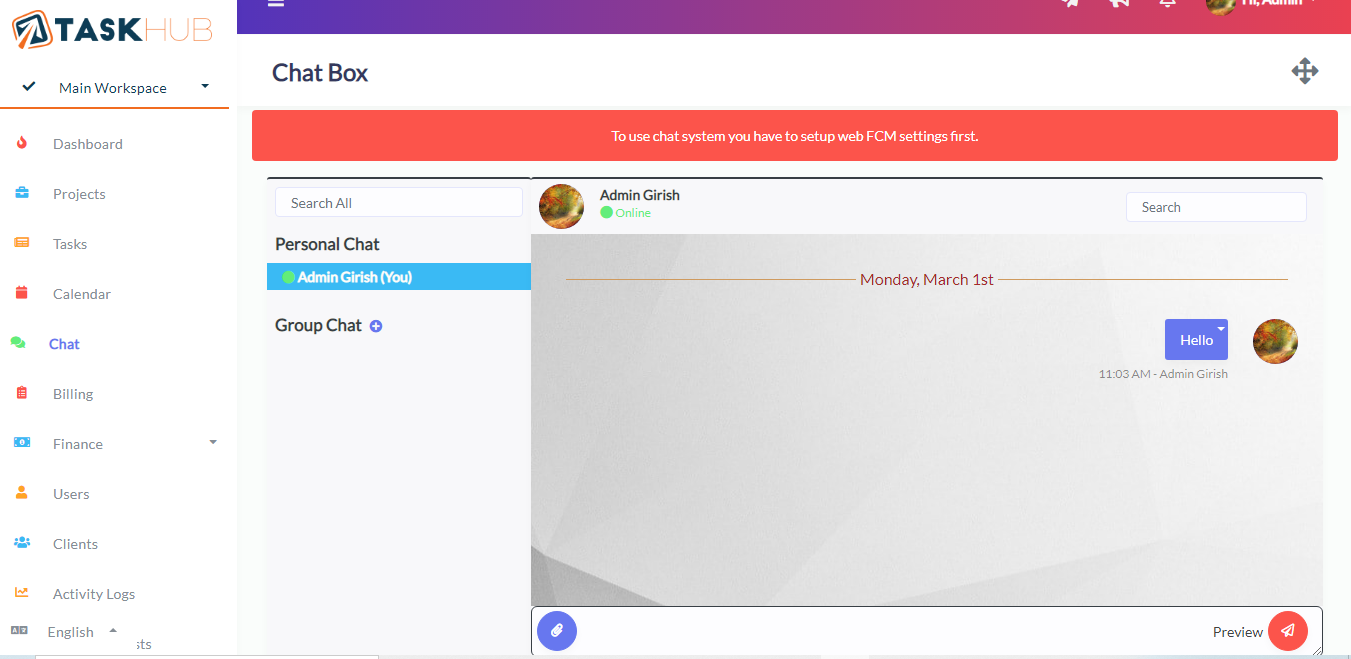
6. Chat
Here you can communicate with your workspace memebers. This chat system only works if Web FCM settings is saved. All the users of your workspace will be listed here. Also you can create groups
7. Send mail
Admin can send mail to selected users of workspace with attachment. admin can save mail as draft to send in future


8. Announcements
Admin can create, edit and delete announcements for workspace users and can also pin or unpin it as per requirement.

9. Notifications
Here workspace users can see notifications like new project or task assigned, new events or announcements created.

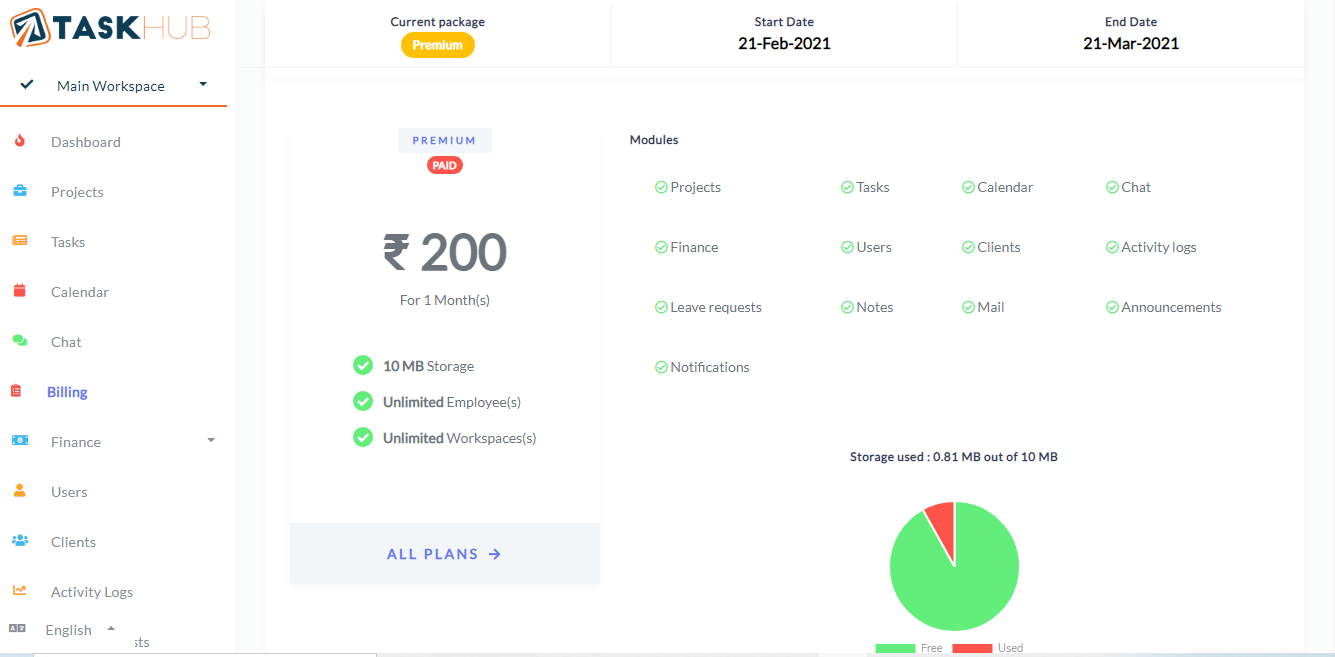
10. Billing
Admin can view all the details about active subscription like storage, modules, start and end date, subscription and transaction list.
11. Finance
Finance module is for creating and managing expenses, estimates, invoices, items, payments, taxes and units for invoices and estimates
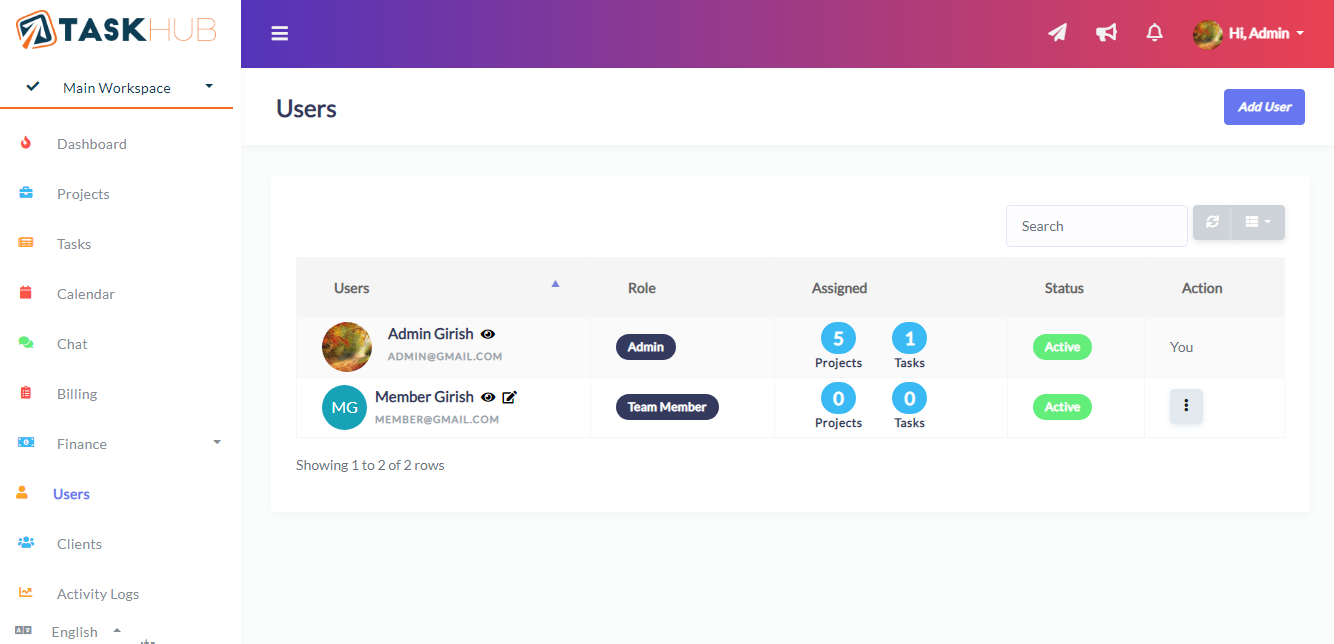
12. Manage Users
Here you can Add, View, Edit & Delete users from worspace.
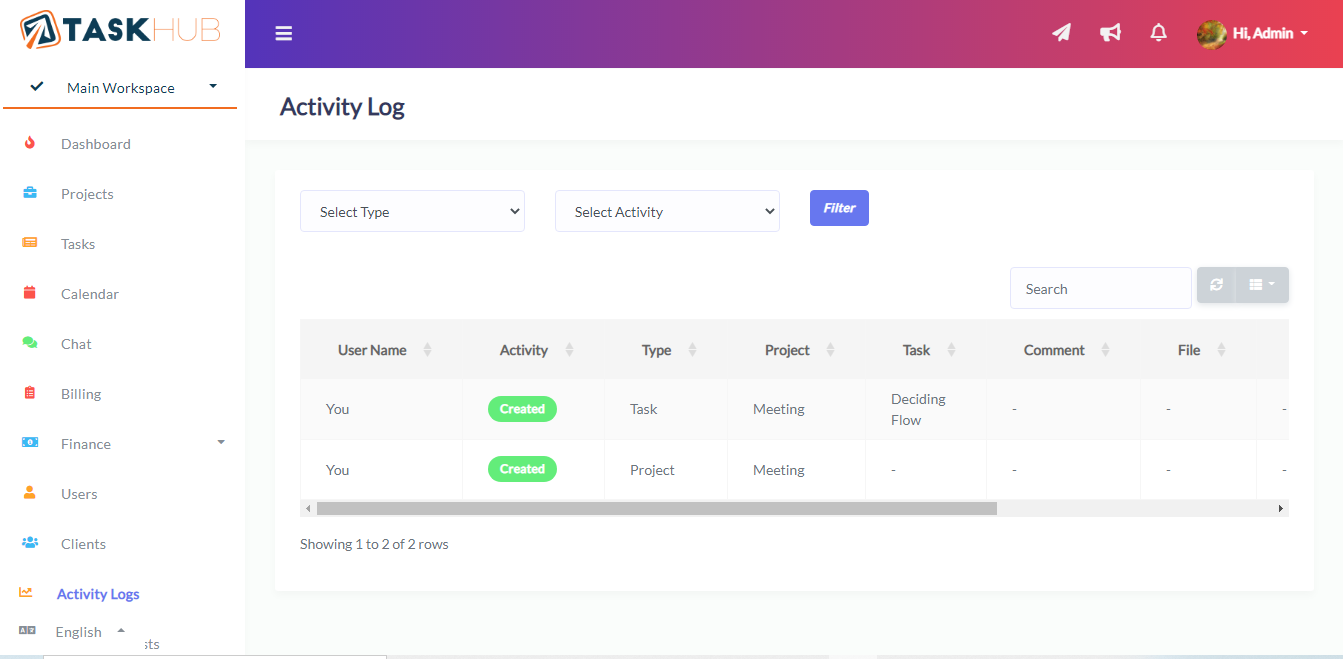
13. Activity logs
Here you can view activities done by worksapce users like created or updated or deleted projects, project files, project milestones, tasks, comments and task status.
14. Manage Leave Requests
Here admin and manage leave requests coming from workspace users.

15. Manage Notes
This is the place where you can leave you notes for yourself. You can add, update, delete your notes.

16. Time Tracker
Here admin and manage time track work hours across projects Add(Start, Stop & Pause) & View Time Tracker.
17. Leads
Here admin and manage add, edit & View Leads and Manage potential customers and follow-up their status and convert your leads into paying client.


18. Email Templates
Here admin send email dynamic Add, edit & View Email Templates.


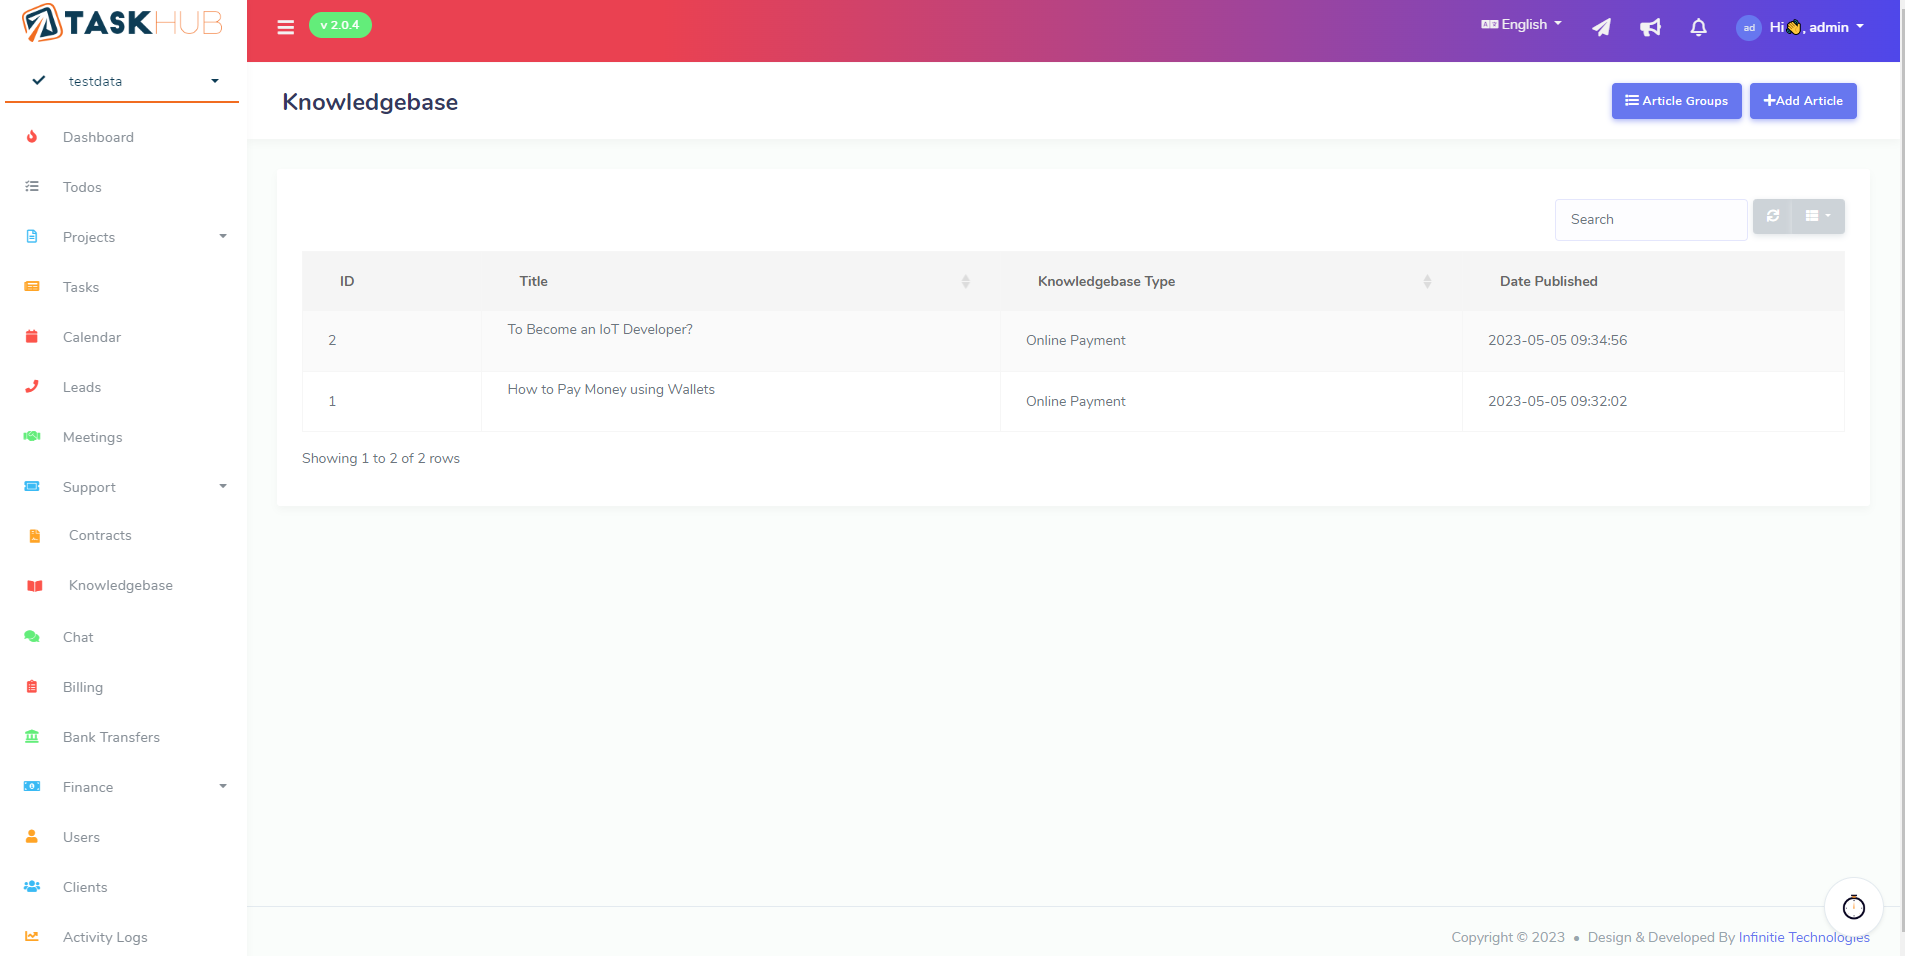
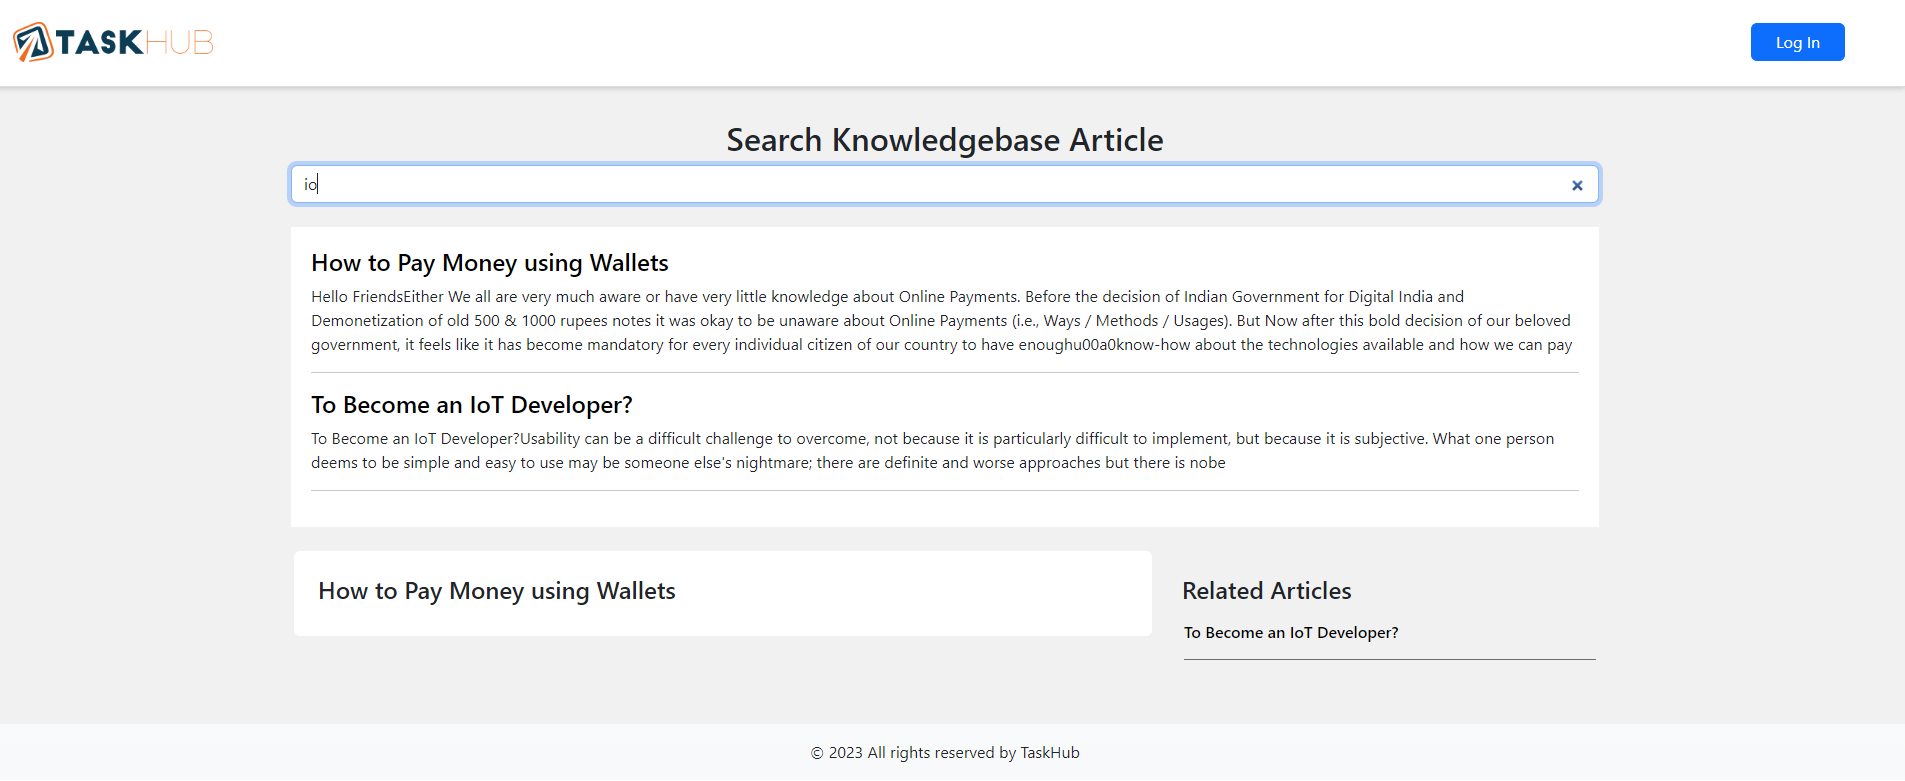
19. Knowledgebase
Here you can Add, View, Edit & Delete Knowledgebase from worspace.
20. Contracts
Here you can Add, View, Edit & Delete Contracts from worspace.

